Staircase Renovation: Sanding, Varnish, and Polish

We offer professional Stair finishing and banisters services that can give your hallway a dramatic new look without the need for a full replacement.
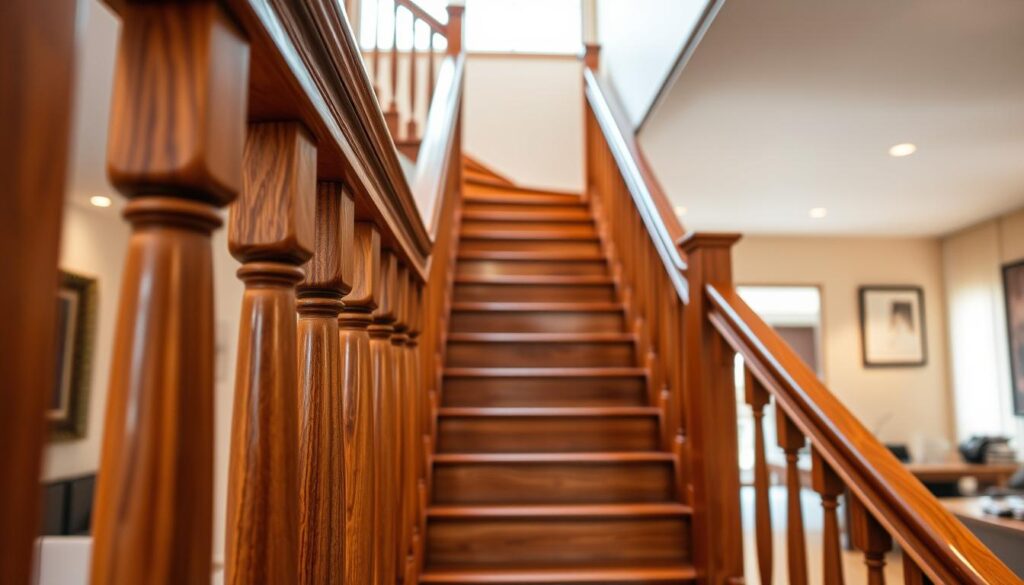
Stair finishing and banisters

We set clear expectations: this is a DIY-friendly, professional-standard guide from Handyman Pretoria that covers inspecting wear, prepping and sanding, staining carefully, then sealing with varnish or polyurethane for lasting durability.

The staircase is the visual spine of a home. Proper sanding and a good top coat refresh both appearance and daily wear, especially in busy family houses near Pretoria CBD, Church Square or Hatfield.

In this short guide we will show planning tips, tool and material choices, dust control, a sanding strategy, how to avoid patchy stains, and which protective coats hold up to constant foot traffic around Menlyn Maine and Loftus Versfeld.

Who this is for: homeowners doing a weekend refresh, landlords prepping a rental, or anyone modernising an older flight without replacing timber.

Typical outcome: warmer wood tones, cleaner lines on handrails, and a more modern style that lifts your home after just a day or two of work – Contact Us

Planning your staircase refresh in Pretoria homes – Stair finishing and banisters

A targeted spruce-up often delivers the biggest style gain for the least cost in older Pretoria homes. Before we begin, a short plan saves time and prevents surprises on site.
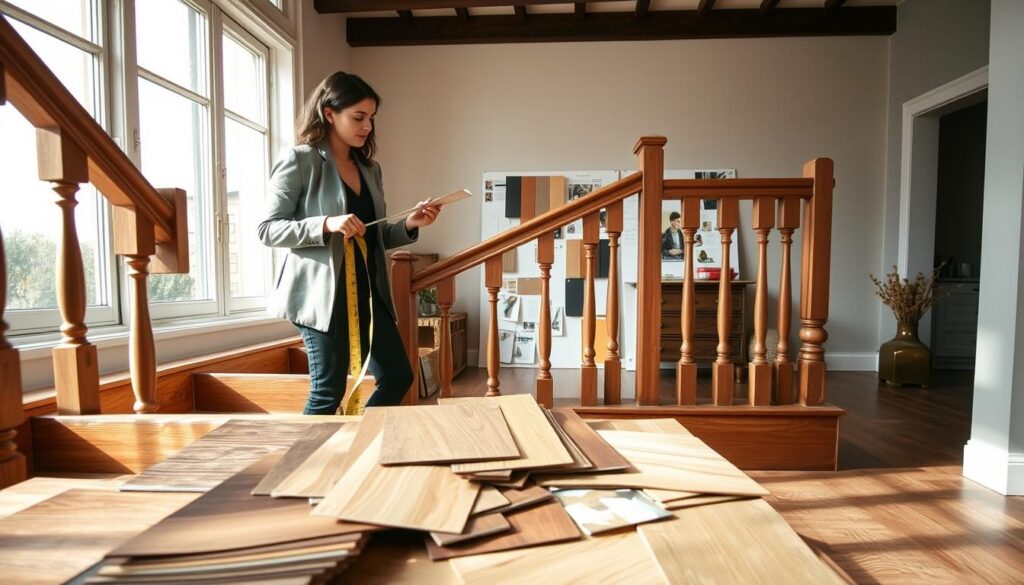
A stylish home interior in Pretoria, showcasing a staircase planning scene. In the foreground, a wooden staircase with worn banisters is surrounded by samples of wood finishes and varnishes. A professional designer in smart casual attire examines the materials, with a measuring tape draped over the banister. In the middle ground, a mood board displays color palettes and design ideas for staircase refreshment. The background features a well-lit room with large windows, casting soft, natural light that highlights the textures of the wood and samples. The atmosphere is creative and inspiring, reflecting a space where thoughtful renovations are planned. The angle captures both the designer and the items, inviting viewers into the decision-making process.

When to refinish vs touch-up: if treads show clear wear, handrails look dull or the stain has gone patchy, a full refinish is worthwhile. Small scratches and local scuffs are better as quick touch-up work.

How the work changes your home: the area around entrances, landings and open-plan halls is highly visible. New coats lift the entire look and modernise style quickly.

  • Finish choice for Pretoria light: bright midday sun can show lap marks. Satin sheens hide defects better than high gloss.
  • Colour ideas: lighter natural tones suit townhouses and rental flats; deeper stains add contrast in older homes.
  • Simple timeline: measure scope (steps, rails, spindles), allow drying windows and plan which parts stay usable each day.

On-site considerations in busy areas: near Pretoria CBD, Church Square or Marabastad we manage dust, parking and body corporate rules. Keep walkways safe, limit noise and use covers to protect floors.

Traffic management: set an alternate route, schedule coats so stairs cure overnight and keep kids and pets away. Always sample a finish in a hidden spot and view it in morning and afternoon light before you commit.

Tools, materials and prep for a clean, long-lasting finish – Stair finishing and banisters

A tidy toolkit and a clear prep plan make the difference between a long-lasting result and a messy weekend. We keep the setup small but specific so work in compact Menlyn Maine townhouses goes quickly and cleanly.
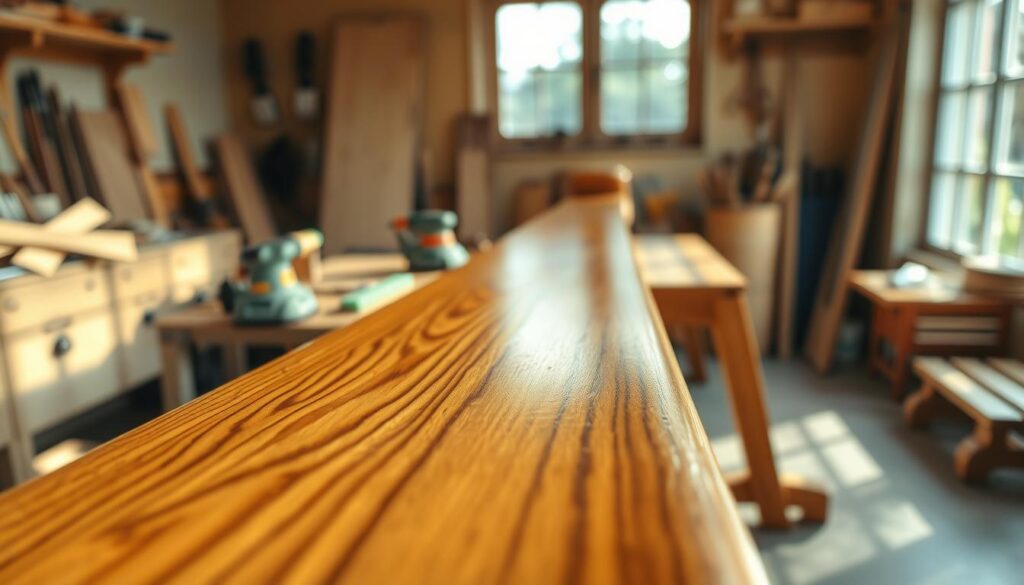
A close-up view of polished wood showcasing intricate grain patterns and textures. In the foreground, a smooth wooden banister, freshly sanded, reflects the light, displaying a rich, warm hue. The middle ground features woodworking tools like sanders and varnish brushes neatly arranged on a workbench, hinting at the preparation process. In the background, soft, natural lighting filters through an open window, illuminating the scene and creating a serene, professional atmosphere. The image captures the essence of craftsmanship, emphasizing quality and attention to detail, with a focus on the aesthetic beauty of the wood, encouraging a sense of warmth and durability. No distractions or text elements are present.

What we use for professional results

Our core kit is simple: gel stain, soft cloths, a sponge brush, painters tape, gloves and a fine brush for edging around spindles and wall returns. These tools help us control drips on vertical parts of the banister and speed up careful work on handrails.

Top coat and primer choices

We favour water-based polyacrylic for faster drying and lower odour. For very heavy traffic, a tough polyurethane system makes sense. Use a primer and semi-gloss paint for spindles where paint is the finish choice.

Protecting surfaces and runners

Mask skirting, protect floors and cover furniture. Tape runner edges neatly and cover the carpet to catch drips. Where practical, lift a runner temporarily to avoid trapped spill marks.

Dust control essentials

Work through sanding grades as needed, vacuum between steps and wipe surfaces with a slightly damp cloth. Ventilate safely—cross-ventilate in summer, and in colder months plan drying without closing the area completely to limit odour and keep dust from settling on wet coats.

Avoid common mess-ups: don’t over-tape to the point of tearing fibres, remove sanding dust from corners and take time between coats to prevent bubbles forming with the brush or roller.

Stair finishing and banisters: sanding, staining and varnishing step-by-step

A quick, methodical check of each tread and rail tells us whether light prep or deeper work is required. We mark worn areas, exposed hardwood and oak grain that will take stain differently.
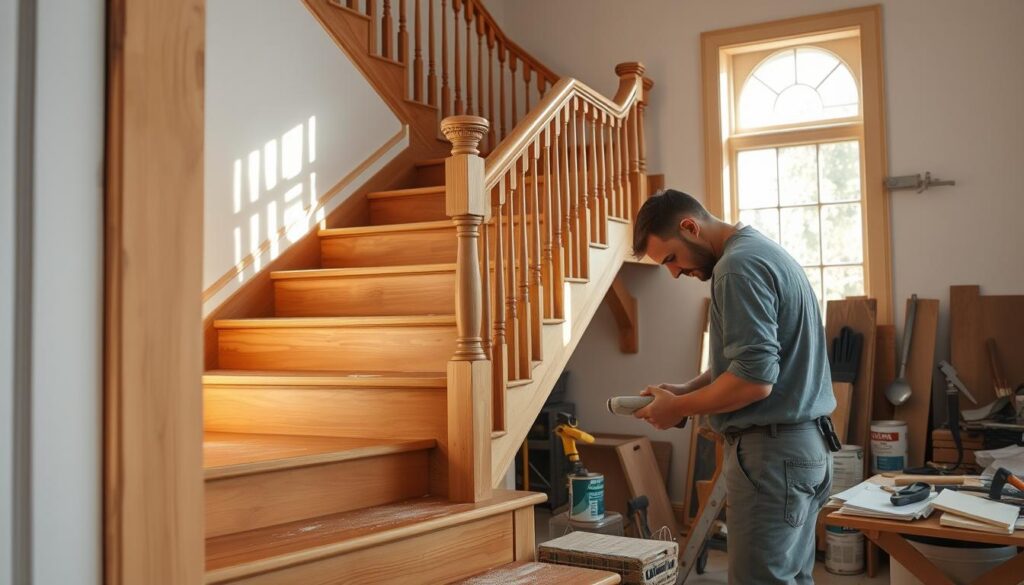
A well-lit interior scene featuring a wooden staircase undergoing sanding. In the foreground, a skilled worker dressed in modest casual work attire focuses on sanding the smooth, polished wood of the staircase steps. The middle ground showcases the staircase with its elegant banisters, partially unfinished, revealing the grain of the wood. Bright sunlight filters through a nearby window, casting warm light and soft shadows that highlight the textures of the wood and the sanding dust in the air. The background is filled with tools and materials for stair finishing, like sandpaper, varnish cans, and brushes, all organized neatly. The atmosphere is industrious yet calm, reflecting a professional approach to stair finishing.

Inspecting hardwood, oak grain and worn areas before you start

We inspect every tread, riser and hand-contact point. Note where the grain soaks stain faster. That guides our sanding and staining process.

Sanding strategy

Light sanding removes gloss and smooths nicks. Deeper prep flattens uneven sheen and removes failing finish. Always sand with the grain and move through grit grades.

Staining technique

Apply stain with a sponge brush, let it sit 5–10 minutes, then wipe off excess. Work in sections so you avoid blotchy patches in Pretoria’s bright daylight.

Building colour and top coats

We build colour over days: allow a full day between coats. For durability use two thin layers of water-based polyacrylic or a polyurethane system for heavy traffic.

“Wipe-off evens colour and prevents sticky spots — it makes the result last.”

Part Action Drying time Notes
Tread Sanding, stain, 2 coats top 24 hours between coats Keep one route usable
Handrail Light sand, stain, 1–2 top coats 8–12 hours to touch Check in direct light
Riser Degloss or paint 12 hours Protect adjacent floors

Weekend timeline: Day 1 inspect and sand. Day 2 stain and wipe. Day 3 apply first top coat; Day 4 second coat and allow full cure over several days.

Banisters, spindles and handrails: painting, upgrades and safety checks – Stair finishing and banisters

Focus on the parts you touch most: a smart repaint lifts the whole staircase in hours. These elements show wear fast and need a smooth, cleanable surface. We treat rails and posts separately from treads because they are constant contact points.
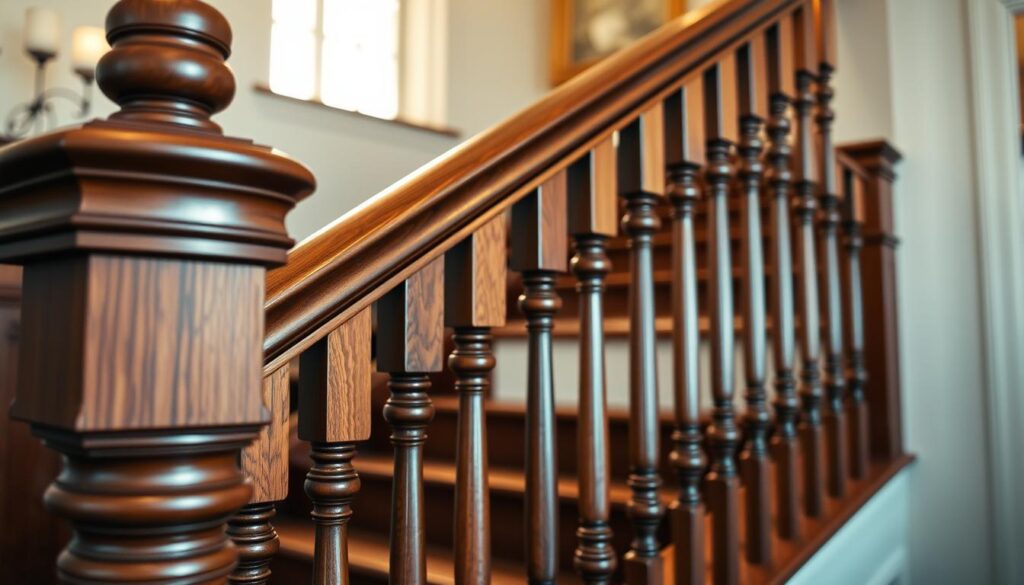
A beautifully crafted wooden banister showcased prominently in the foreground, featuring intricate spindle designs and a polished handrail that gleams under soft, warm lighting. The middle ground reveals a staircase with rich, dark wooden steps and matching spindles, demonstrating an elegant finish that emphasizes the craftsmanship involved in sanding and varnishing. In the background, a softly blurred interior setting, perhaps a stylish hallway or landing, adds depth without distracting from the banister. The image captures a warm and inviting atmosphere, emphasizing safety and quality in home decor. The angle is slightly elevated, showcasing the curvature of the banister gracefully. The overall mood conveys sophistication and attention to detail, ideal for illustrating the care involved in maintaining and upgrading stair finishes.

Two-tone approach for a modern look

Stain the handrail and newel posts to keep warm wood tones, then paint spindles in a crisp semi-gloss for contrast. That two-tone trick lightens the space without altering the steps or carpet.

Priming and neat painting in tight spaces

Use a quality primer on spindles, tape edges carefully and work in small batches. Keep wet edges tidy and smooth any stain globs before they harden to avoid bumps under the paint.

Safety checks and simple upgrades

We check newel movement, test post fixings and inspect baluster spacing before final coats. Replace worn posts or cap newels if needed, or swap to iron spindles for a contemporary finish.

Local tips for busy Pretoria projects

In Hatfield, Menlyn Maine or Loftus Vervefeld plan around peak hours and event days. Minimise odour in flats, protect the runner and keep the route safe while we paint. For a finish that lasts, Handyman Pretoria can handle both the cosmetic work and the stability checks.

Stair finishing and banisters: Conclusion

Small practices at the end of the process turn good results into lasting ones.

Plan, protect, sand smart, stain evenly, then seal with a durable finish. Build colour in thin coats, allow proper drying between days and choose a water-based top coat for faster drying and lower odour in Pretoria homes.

Two success factors matter most: clean, dust-free surfaces and patience with drying times. Tidy tape lines, consistent wipe-off and smooth top coats without bubbles make the difference.

Whether you live near the Pretoria CBD or in quieter suburbs, a refreshed area lifts the whole home. Next steps: assess wear, pick colour, schedule the project window and decide if you’ll DIY or call in help for sanding or the final coat.

FAQ – Stair finishing and banisters

What makes sanding and varnish the best choice for hardwood staircases in Pretoria?

Sanding removes wear, old finishes and surface stains so the grain of oak or other hardwoods shows through. Varnish or a clear polyurethane then seals the timber, giving a durable, low-maintenance surface that stands up to foot traffic and household activity in Pretoria’s climate. Together they restore look and longevity without replacing the whole structure.

When will a refresh have the biggest visual impact in our home?

A refresh helps most when the treads, risers or handrail show scuffs, dullness or uneven colour. It’s particularly noticeable in homes with open-plan layouts or where natural light from windows highlights worn areas. We often see the biggest difference after treating the handrail and top two-thirds of the steps to draw the eye upward.

How do we choose a finish that suits Pretoria light and local styles?

Lighter, satin finishes brighten stairways and work well in homes near Church Square or Brooklyn with strong natural light. For heritage properties around Pretoria CBD or newer townhouses in Menlyn, a mid-toned stain preserves the grain while adding warmth. We recommend sampling on an offcut and viewing samples at different times of day.

What on-site factors should we consider before starting a project near Marabastad or Hatfield?

Check access for materials and tools, whether residents need to avoid stairs during work, and the condition of surrounding flooring and carpet runners. Noise and dust can affect nearby homes, so plan ventilation and containment. Also confirm water and power access for sanders and extraction equipment.

Which tools and materials deliver a professional result?

We use graded sandpaper, orbital sanders, tack cloths and quality brushes plus microfibre cloths for wiping. For colour, gel stains and wood dyes give even penetration; for protection we prefer water-based polyacrylic or low-odour polyurethane for faster drying and less odour in occupied homes.

How do we protect floors, carpets and runners during the job?

Mask skirting and adjacent floors with painter’s tape and heavy-duty paper or builders’ film. Lay breathable dust sheets over carpets and use temporary runners on high-traffic routes. We also seal doors and vents to limit dust spread and keep work areas contained.

What are the dust-control essentials when sanding inside a house?

Use sanders with dust extraction, keep the sander on low grit progression, and wipe down with tack cloths between stages. Run a HEPA filter air purifier or an extractor fan and ventilate windows when weather permits. Frequent, small clean-ups prevent dust settling into other rooms.

How should we inspect hardwood and oak grain before work begins?

Look for soft spots, deep gouges, loose treads and water damage. Test newel posts and balusters for movement. Note areas where previous finishes have worn unevenly so we can plan targeted sanding or filler work before staining and sealing.

When is light sanding enough and when do we need deeper prep?

Light sanding suits surfaces with minor wear and superficial scuffs. Deep sanding is necessary for heavy wear, previous coatings that have failed, or to remove old carpet adhesive or paint. If the grain needs levelling to achieve a uniform colour, we go deeper.

How do we apply stain without creating patchy results?

Apply stain evenly with a cloth or sponge brush along the grain, let it sit the manufacturer’s recommended time, then wipe off excess promptly and consistently. Work in small sections and blend wet edges to avoid lap marks. Gel stains can help reduce blotching on open-grain woods.

How many coats of colour should we expect and how long between them?

One coat often gives colour, but two coats build depth and consistency. Allow full drying between coats — typically several hours for water-based products and up to 24 hours for oil-based stains. Follow product guidance and plan the work over a few days rather than a single afternoon.

What top coat do you recommend for high-traffic household stairs?

We favour a hard-wearing water-based polyurethane or polyacrylic for clarity and faster cure times. For extreme traffic, choose a two-component polyurethane specified for floors. These provide abrasion resistance and yellowing resistance compared with traditional varnishes.

Can this be a weekend DIY project or should we hire professionals in Pretoria?

Simple surface refreshes with light sanding and a single top coat can be a weekend job for experienced DIYers. However, if the work needs deep sanding, structural checks on newels and balusters, or multi-stage staining and varnishing, we recommend hiring professionals for safety, dust control and a consistent result.

How do we prime and paint spindles without messy edges on the handrail?

Remove dust and sand lightly, mask the handrail with low-tack painter’s tape and use a small angled brush for precise application. Roll or brush spindles top to bottom, and remove tape while the paint is still tacky to avoid peeling. A thin primer coat helps reduce drips and improves coverage.

What checks should we make to keep handrails, newels and balusters safe?

Tighten or replace any loose fixings, check for rot at base plates, and ensure newel posts are firmly bedded. Inspect iron components for rust and timber for splits. Any structural concern should be repaired before finishing to avoid cosmetic work over an unsafe frame.

Which material combinations work well for a modern two-tone look?

A stained handrail with painted spindles gives contemporary contrast. Mixing timber with painted iron balusters creates visual interest—raw oak handrails pair well with matt black iron for an industrial edge. Choose finishes that complement your flooring and stair runner.

Are there local tips for households around Menlyn, Loftus Versfeld or Hatfield?

Schedule noisy sanding for daytime hours and tell neighbours in apartment blocks. In busy family homes, establish walking routes with temporary runners and allow longer cure times before heavy use. For areas with high footfall, choose tougher top coats and consider a runner to protect the finish.
WhatsApp Us: 083 383 9879