
High-Security Brackets: Protect Your Motor Investment
Gate motor anti-theft bracket installation is the smart, effective way to stop your sliding gate kit from becoming an easy target for thieves. Do local theft trends mean we must rethink basic physical security for street-facing properties in Tshwane?
Handyman Pretoria offer practical, no-nonsense advice for homeowners in Menlyn, Brooklyn and Hatfield. We explain why a robust physical fix acts as the first line of defence and how it supports alarms, lights and CCTV.

This short guide shows the tools, prep checks and compatibility notes you need. We cover bolt-down anchoring, anti-lift measures and tamper-resistant housings so theft and resale of parts become far harder.
What you’ll learn: how the fitting stops access to manual override points, simple ways to prevent rack lifting, and how to test for smooth travel after work.
We act with care: avoiding needless structural changes, confirming fixing points before drilling, and working safely around moving gates and electrics. Expect clear steps and suggested tables to compare parts and services as you read on – Contact Us
Why gate motors are targeted in Pretoria right now – Gate motor anti-theft bracket installation
For homes near busy routes in Brooklyn and Menlyn, Gate motor anti-theft bracket installation offers a clear deterrent against quick thefts. We see the same risk in Hatfield where street-facing driveways give opportunistic offenders a fast window.
Units are high-value and portable. Thieves can resale whole units or strip parts for cash. When a motor sits exposed or has easy manual access, removal is quick with basic tools.
That leads to a simple security fact: once a unit is taken or tampered with, the gate becomes easy to force. The wider property is then vulnerable until repairs or replacements arrive.
Layered security works best. We recommend a mix of physical hardening, visibility reduction and early detection. Hardening slows removal; screening hides access points; alarms and lights attract attention.
“Protect the point of attack and you protect the whole boundary.”

| Risk | Why attractive | Quick fix |
|---|---|---|
| Visible unit | Easy reach, low effort | Cover or sheathing |
| Manual override exposed | Allows fast disable | Secure override points |
| Unprotected mount | Simple to unbolt | Bolt-down hardening |
Gate motor anti-theft bracket installation: tools, requirements and preparation
Before any cutting or fixing, we run a short assessment to map risks and confirm requirements. We look at the mounting surface, the line of travel and street visibility near Menlyn Mall, Loftus Versfeld and the Pretoria CBD.
Quick on-site risk check
We scan for reach-through points, exposed bolts, and covers that are easy to pry open. Red flags include weak concrete, a manual override within reach, and gates that lift enough to free the pinion.
Common theft tactics we design against
Thieves often lift the gate off the pinion, bend the rack, or cut covers to reach test buttons. Our fixes focus on denying those access routes and slowing down attackers so detection systems can react.
Choosing the right protection
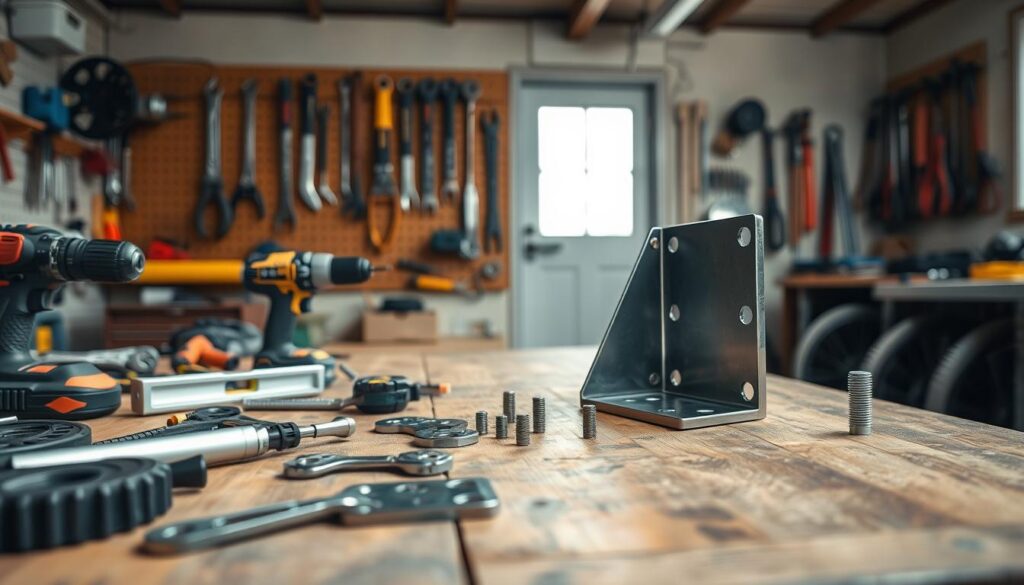
Anti-theft bracket, steel cage or tamper housing — each has trade-offs. Brackets suit tight spaces and regular legitimate access. Cages give full coverage but need more space. Housings balance ventilation and tamper resistance.
Compatibility, materials and safety
We check common systems such as Centurion, ET Nice and Gemini to ensure the unit geometry does not foul the rack or ventilation. Use powder-coated steel, corrosion-resistant fixings and avoid mixed metals for long life in Tshwane.
Health and safety comes first: isolate power, control gate movement, wear eye and ear protection when drilling or cutting, and confirm there are no hidden services before any destructive work.
| Item | Notes | Quality | |
|---|---|---|---|
| Motor type | Centurion / ET Nice / Gemini | Match geometry | |
| Gate type | Sliding / Rolling | Travel profile | |
| Mounting surface | Slab / Pedestal | Concrete grade | |
| Item | Purpose | Quality notes | |
| Hammer drill & bits | Anchors | Carbide masonry bits | |
| High-tensile anchors | Fixing | Corrosion-resistant | |
| Angle grinder | Cutting / trimming | Use with guards | |
| Option | Best for | Pros | Cons |
| Bracket | Tight access | Low profile, quick | Less full coverage |
| Steel cage | High exposure | Robust protection | Bulk, visual impact |
| Tamper housing | Ventilation needed | Balanced | Costlier |
Scope of work expectations: we confirm fixing points, discuss modifications and work to complete the job within a practical timeframe. A 12-month workmanship warranty applies where relevant.
Step-by-step installation process for a secure, tamper-resistant fit – Gate motor anti-theft bracket installation
Begin with a safe setup: isolate power, confirm the unit is stable on its track, and clear the test area so we can cycle movement without risk to people or vehicles.
Fitting and anchoring: correct bolt-down, alignment and anti-lift measures
- Mark-out: Position the protection so fasteners and the manual override are covered, yet service access from inside the property remains easy. Mark fixing holes on clean, level surfaces.
- Check alignment: Verify rack and pinion alignment before any fastening. A misaligned rack will cause grinding even if the fitting is perfect.
- Drill and anchor correctly: For concrete use high-tensile anchors with correct embedment depth. For paving or pedestals select anchors rated for that substrate. Remember drilling is destructive; confirm there are no concealed services.
- Bolt-down and torque: Tighten in a criss-cross pattern to seat the base. Use thread-lock on high-vibration fixings and ensure no rocking between base and ground.
- Anti-lift measures: Fit anti-lift plates or clips so the track cannot be lifted away from the pinion. For sliding systems add a low-profile anti-lift channel beside the rack.
- Rack protection: Reinforce the tooth bar gap with a flat steel strip where feasible to prevent prising or bending attempts.
- Access control: Block outside access to manual override and fasteners while allowing authorised internal access. Use tamper-resistant screws or internal keys where possible.
- Finish and weatherproof: Deburr cut edges, apply corrosion protection to drilled points and avoid traps that hold water.
- Operational testing: Cycle the unit several times, listen for binding, verify smooth start/stop and confirm the protection does not foul moving parts.
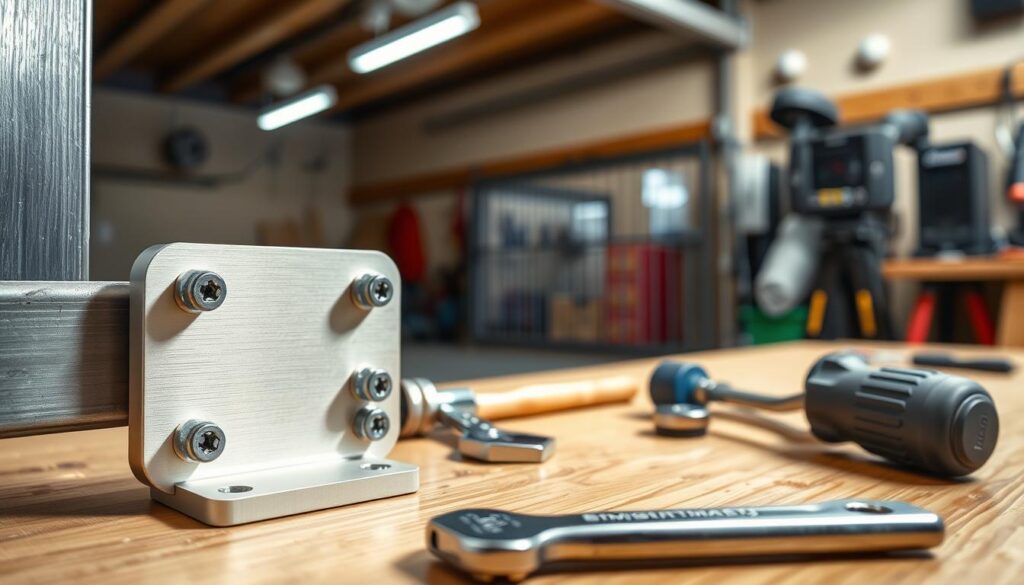
“Protect the manual access points first — slow the thief and give detection systems a chance to act.”
| Check | Pass / Fail | Corrective action |
|---|---|---|
| Manual override protection | Pass / Fail | Replace cover, add tamper screws or internal lock if fail |
| Rack alignment | Pass / Fail | Realign rack or adjust pinion; refit base if needed |
| Smooth travel | Pass / Fail | Check rollers, clear debris, adjust limits and force settings |
| Tamper points | Pass / Fail | Cover exposed fasteners, add shielding or reinforcement |
| Interval | Inspect | Record |
| Monthly | Fasteners, visible corrosion, water traps | Photos, notes, date |
| Quarterly | Rack wear, anti-lift devices, operation smoothness | Notes on wear, corrective actions, date |
| Annually | Full service: anchors, seals, paint and electrical check | Service report, date, parts replaced |
Gate motor anti-theft bracket installation: Conclusion
The final checks — alignment, anchors and testing — make the difference. A properly fitted protection reduces easy access to the gate motor, the cover and manual override. It turns a single weak point into a durable perimeter defence for street-facing properties in Pretoria and Tshwane.
Remember the three-step approach: careful prep, correct fitment and full testing. That sequence separates a cosmetic cover from a genuinely tamper-resistant solution.
Adopt a layered plan: physical hardening plus lighting, alarms, beams and cameras works best. Keep records and inspect for corrosion, loose bolts and rack movement regularly. A 12-month workmanship warranty adds peace of mind.
If you’re unsure about compatibility, anchoring quality or safe isolation and testing, Handyman Pretoria can manage the work and verification for you. We deliver practical, local-focused workmanship you can trust.