
Industrial-Grade Stripping: Cleaner Than Manual Removal
Flooring removal and disposal in Pretoria is the fastest route to a clean, hassle-free uplift, and our work with Handyman Pretoria shows that the process can be quick and tidy when planned well.
We explain the full process in this short how-to guide. You will learn about planning, safety, tools, room prep, step-by-step uplift by floor type, subfloor clean-up and responsible disposal.
Click-lock laminate often lifts row-by-row with minimal damage. A trained team can usually manage about 30m² in a day, while undamaged planks may be reused or recycled. We always check underlay for moisture or mould during uplift.
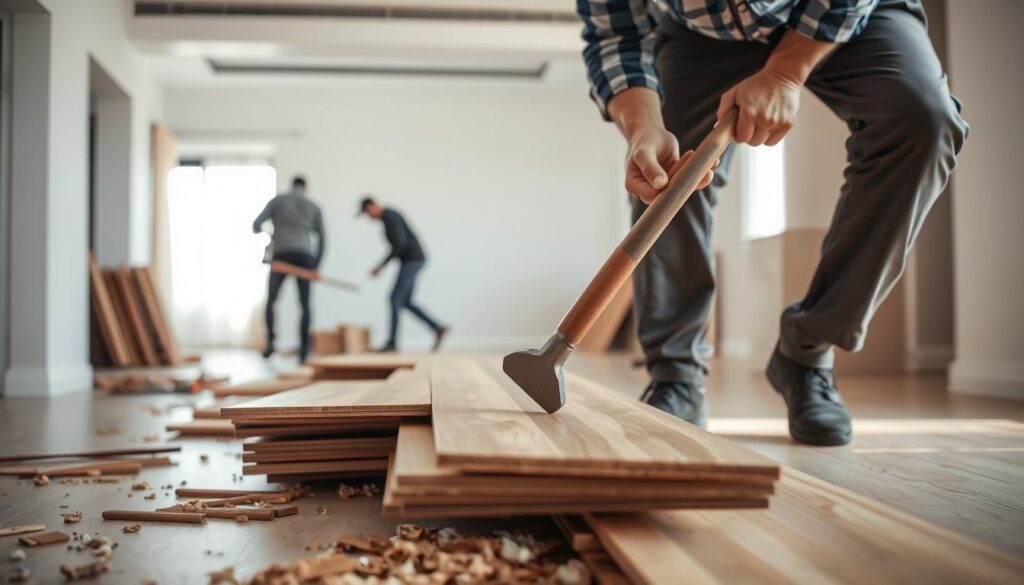
We regularly work around Menlyn Maine, Hatfield, Brooklyn and Pretoria CBD, so logistics and access are familiar territory. Fast and clean matters because it means less downtime, lower dust spread and a surface that is ready for new flooring.
Some tasks suit DIY — like click-lock panels — while glued hardwood or mortar-bed tiles carry higher risk and need our help. Our typical project snapshot covers room size, timeline drivers and why we protect finishes from day one.
Practical promise: we give Pretoria-focused guidance on rubble planning and recycling streams so the area stays tidy and usable – Contact Us
What to expect from a flooring uplift in Pretoria – Flooring removal and disposal
On arrival in Pretoria we prioritise safety, sequencing and a tidy work zone so projects run smoothly.
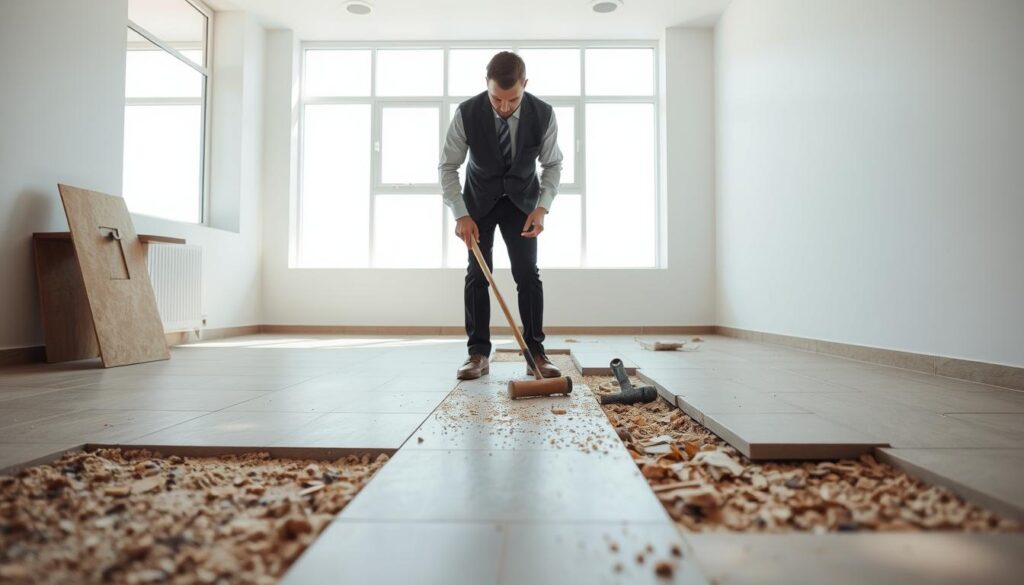
Common reasons floors need to come out
We most often see water damage from leaks, swollen joints, warped planks and soft spots in high-traffic areas. Cracked tiles and adhesive failures also trigger replacement.
What “fast and clean” looks like on real projects
Our realistic uplift process is simple: site check, isolate the work zone, controlled lifting, frequent tidy-up and a final sweep with a vacuum. By sequencing work and using the right tools we hit an efficient pace — often around 30m² per day where conditions allow.
Fast means correct sequencing, not rushing. Clean means sealed doorways, covered vents, regular debris clearing and clear stacking so the room remains walkable.
Where we typically work in Pretoria for easy access and quick turnaround
We operate across Pretoria East and central nodes — Menlyn, Faerie Glen, Hatfield (near the Gautrain link), Loftus Versfeld and the CBD. Note event-day parking near Loftus and busier CBD timing can affect access and time on site.
Before we start we ask that clients clear the room, remove pets and ensure power access. We handle site checks, protective sealing, lifting steps, stacking reusable boards and load-out. Please consult local complex rules (especially in Hatfield and Brooklyn flats) before the work begins.
Safety and dust control before you lift a single plank or tile – Flooring removal and disposal
We begin every project by stopping dust at the source and equipping the team with the right protective kit.
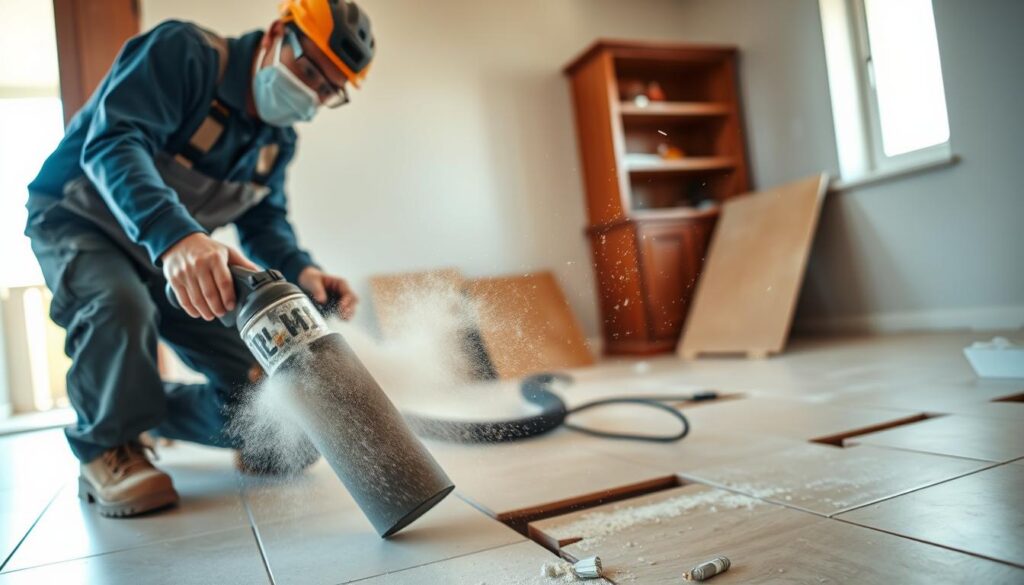
Essential safety gear
Non-negotiable kit:
- Eye protection or a face shield for flying fragments.
- Heavy-duty gloves to guard against splinters and sharp tile edges.
- Knee pads for long stretches of work.
- Hearing protection when using demolition tools.
- A certified respirator for fine dust.
Containing dust and ventilating the area
Dust rises fast during any uplift and can spread through a home or complex. It affects health and makes later cleaning harder.
We isolate the work area with plastic sheeting, taped thresholds and closed doors so dust and debris stay where we work. Where possible we cross-ventilate and set a fan in a window to push air outside. If local winds drive dust back in, we pause and adjust.
Older homes need extra checks
In older Pretoria suburbs such as Brooklyn, Arcadia and Sunnyside we often advise testing before disturbing old adhesives or underlay. Please consult local guidance for complex rules and testing requirements.
Clean-as-you-go is another safety step: it reduces slip risks, limits tracked dust debris and helps us avoid damaging the floor structure or harming the subfloor. These steps set the tone for a safe, efficient removal process in this guide.
Tools and materials checklist for efficient removal – Flooring removal and disposal
The right kit makes the whole job quicker, cleaner and far less likely to damage finishes.
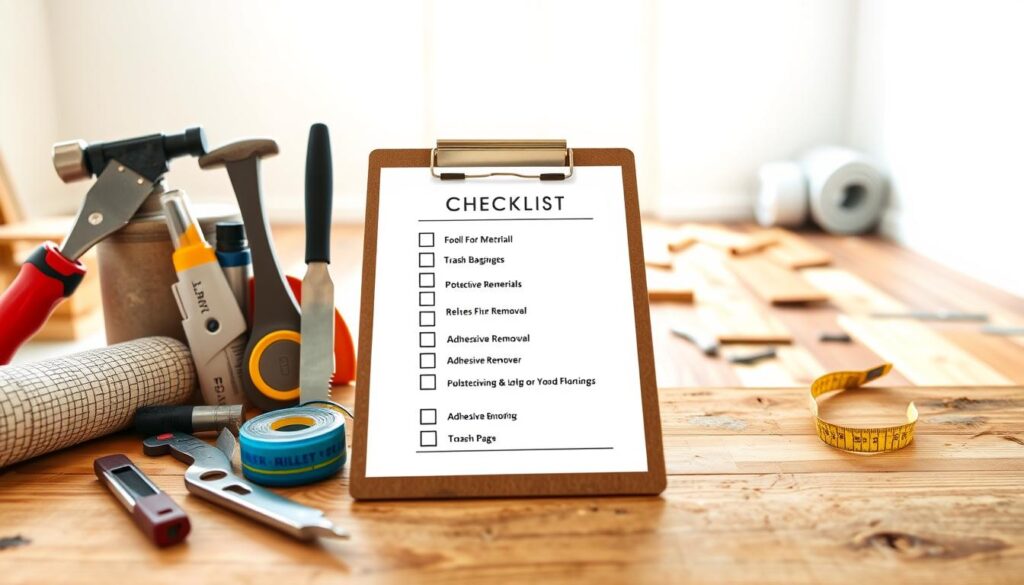
Essential tools we use
- Pry bar for lifting edges and starting boards.
- Rubber mallet for gentle tapping and seatings.
- Utility knife for trims and underlay cuts.
- Hammer and chisel for stubborn fixings.
- Shop vacuum for continuous tidy-up.
When we step up to bigger kit
For large rooms or adhesive work we add a circular saw to score long boards and a powered floor scraper for stubborn glue. Heavy-duty rubble bags and long blades speed load-out.
Quick use pry tips
Keep the pry bar flat, lever against a sacrificial timber block and change the angle rather than forcing hard. This protects edges and makes the task easier.
| Tool | Use | When |
|---|---|---|
| Pry bar | Lift edges, start planks | All jobs |
| Floor scraper | Remove adhesive residue | Glued sections |
| Circular saw | Score and cut into strips | Large areas |
| Shop vacuum | Keep site tidy | Continuous use |
Plan by room and surface: these tools materials scale with size and type, so we match kit to the task before we start.
Preparation: clearing rooms, removing baseboards and protecting finishes – Flooring removal and disposal
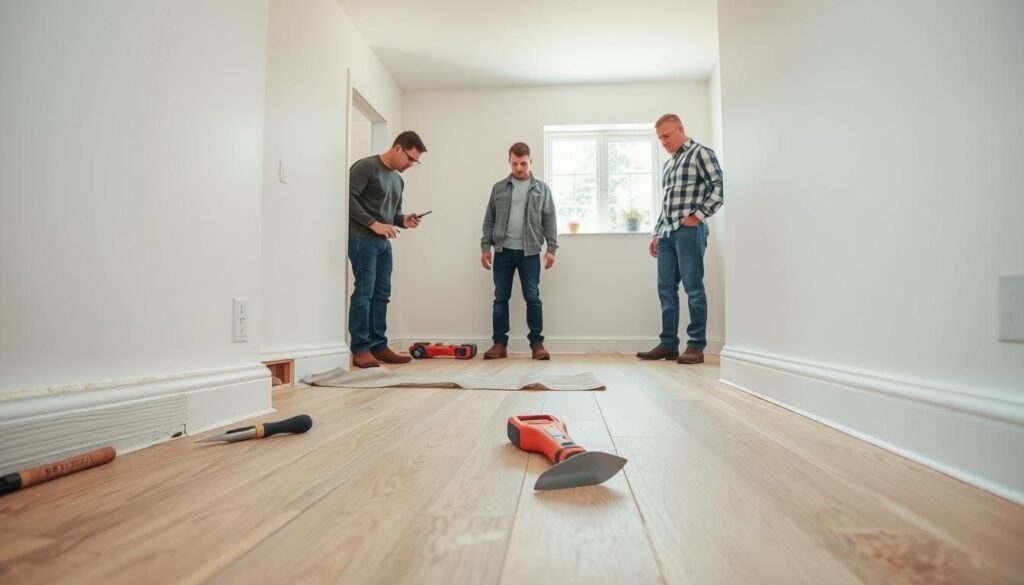
Before we touch a single board, we make the room ready so work flows and dust stays contained.
Clearing furniture and safeguarding immovable items
Preparation is half the job. A cleared room speeds up the removal and reduces accidents.
We remove rugs and loose items, shift movable furniture out where possible and wrap fixed units such as islands and built-ins with cloth or plastic to protect finishes.
Removing skirtings, scotia and trim without damage
To keep baseboards trim reusable, we score paint lines, pry gently at nails and remove pieces in sequence.
Each trim piece is labelled by wall so reinstallation is quick. We take care to avoid damaging edges and paintwork while levering out nails.
Covering vents and controlling debris migration
We seal doorways and cover returns so dust debris cannot travel into communal areas or HVAC. This is vital in Pretoria complexes, townhouse estates and older homes in Waterkloof or Colbyn.
- Remove rugs and small items.
- Shift or wrap furniture; protect immovable fittings.
- Score, pry and label skirtings, scotia and trim.
- Seal vents, doorways and plan rubble paths for lifts or communal corridors.
Quality counts: careful preparation reduces patching later, keeps communal spaces safe and gets the area ready sooner for new flooring. Treat these steps as part of the removal process for a smoother project in Pretoria.
Flooring removal and disposal: step-by-step method that protects the subfloor
Choosing the correct edge to begin at makes the whole process quicker and cuts the risk of subfloor damage.
We pick a start point where panels meet a threshold, a transition strip, or an already-loose board. This first gap sets the tone for all following steps. In apartments near Hatfield or homes in Pretoria East this choice speeds the job and reduces surprises.
Finding the best starting edge and loosening the first section
Score or flex the board gently to create a small gap. Lift slowly to release click-lock joints or to find hidden fasteners. Watch for nails or staples so you avoid damaging subfloor layers beneath.
How to use a pry bar and rubber mallet without splintering boards
Keep the pry bar low and use a scrap timber as a fulcrum. Apply steady leverage rather than jerking the bar; this reduces splintering and helps protect the subfloor.
Tap tongues or joints with a rubber mallet through a sacrificial block. Controlled taps free connections without direct blows that split edges.
Working in manageable sections to prevent fatigue and breakage
We score long boards into 3–4 ft sections when needed, never cutting into the subfloor. Work in short runs so quality stays high and time estimates remain reliable.
De-nailing and lifting fasteners as you go
Pull nails and staples as you progress. Do not leave sharp items buried. Store removed fasteners in a labelled container for safe disposal later.
Bagging and stacking debris for safer handling and quicker load-out
Bag loose rubble and place heavier planks in neat stacks near the exit. Keep clear walk paths and stage materials for a fast load-out that avoids tracking dust through the home.

| Task | Why it matters | Practical tip |
|---|---|---|
| Choose start edge | Reduces hidden fasteners and errors | Use thresholds or last-installed row |
| Use pry bar correctly | Prevents splintering and subfloor damage | Fulcrum block; low angle leverage |
| Rubber mallet taps | Frees tongues without direct impact | Tap through a scrap block |
| Sectioned work | Controls fatigue and improves timing | 3–4 ft sections; score if needed |
| Bag & stack | Faster load-out; safer site | Bag light debris; stack heavy pieces near exit |
How to remove laminate click‑lock with minimal waste – Flooring removal and disposal
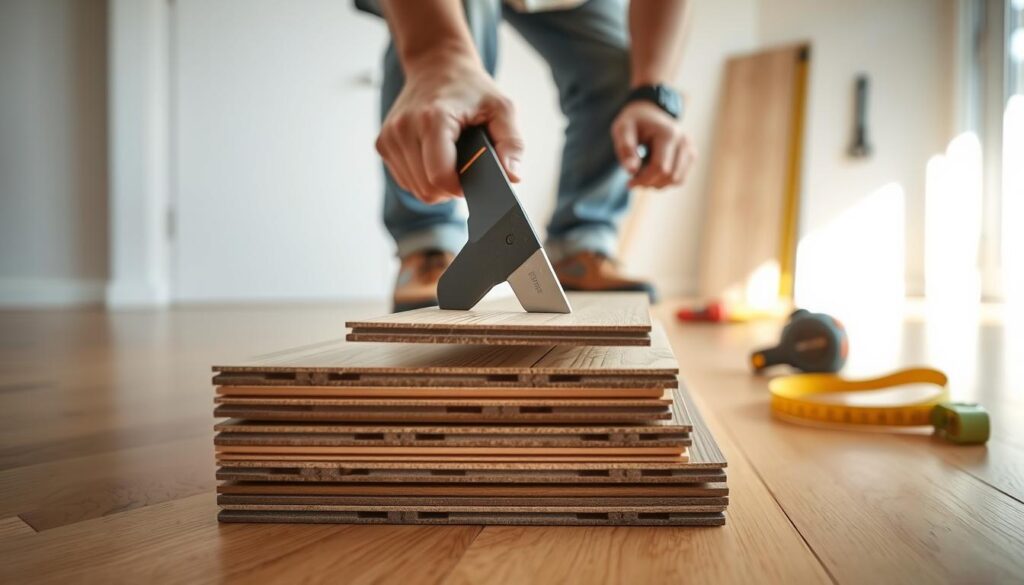
Click‑lock systems are often the cleanest uplift we handle in Pretoria East and Montana estates. They need care, not force, which preserves boards for reuse and lowers waste.
- Clear the room and remove skirtings and scotia first.
- Find the last‑installed row, lift at a low angle to unclip, then continue row‑by‑row in the same direction.
- Stack boards flat in a dry area to prevent warping and protect the click profile.
Protect joints by not twisting or bending boards to save time. Keep grit away from locking edges so boards remain reusable.
Underlay checklist: look for moisture marks, a musty smell, compressed lines or tears. Underlay condition affects preparing subfloor and whether a moisture barrier is needed for new flooring on concrete.
Tools materials ‘ll want nearby are simple: a rubber mallet, pry bar, utility knife and rubbish bags. We often manage about 30m² a day where conditions allow.
Waste guidance: separate reusable boards from damaged ones for recycling or responsible disposal. Keep dust down by vacuuming as you go to protect the room and the subfloor.
How to remove hardwood flooring, including glued-down boards – Flooring removal and disposal
Removing solid timber boards is more physical than working with panels, so we set realistic daily targets. In Pretoria homes such as Waterkloof and Lynnwood, older restorations often hide nails, nails to joists and adhesive beds that take time to clear.

Scoring into sections without cutting the subfloor
Set a circular saw depth to the board thickness only. Score boards into 3–4 ft strips so handling is easier.
Stop short near thresholds and transitions where subfloor layers change to avoid damage to plywood or joist tops.
Prying techniques: nailed versus adhesive-set boards
For nailed boards we start at a corner or a loose board, pry along the grain and lift little by little. Reposition the fulcrum often to avoid damaging subfloor sheets.
Glued boards break more easily; expect to work in fragments and protect the subfloor by using a sacrificial timber block under the pry bar.
Removing adhesive residue with scrapers and solvents
Begin with a heavy-duty floor scraper to remove bulk adhesive residue. Follow with a suitable solvent only when scraping is insufficient.
Ventilate the room, wear PPE and follow product directions. Test solvents on a small area first to avoid chemical damage to the subfloor.
“Work slowly, lift frequently and clear sharp offcuts immediately — that prevents further damage and keeps the site safe.”
Materials handling and sustainability: Bag splintery offcuts straight away and keep sharps contained. Intact boards are sorted for reuse or recycling; heavily contaminated timber goes to appropriate disposal streams.
| Installation type | Typical approach | Key tools | Why this method |
|---|---|---|---|
| Nailed | Start at loose end, pry along grain, remove nails as you go | Pry bar, fulcrum block, hammer, nail puller | Controlled lift avoids damaging plywood and joists |
| Glued | Score into strips, pry up fragments, scrape adhesive | Circular saw (set depth), floor scraper, solvents (as required) | Boards break; focus is on removing adhesive without harming subfloor |
| Floating | Unclip row by row, stack flat, inspect underlay | Rubber mallet, pry bar, utility knife | Least wasteful; boards often reusable and subfloor stays intact |
How to remove tiles and deal with mortar or stubborn adhesive – Flooring removal and disposal
Removing tiles safely is about controlled breaking and patient technique. In kitchens in the Pretoria CBD or bathrooms in Hatfield rentals, the same careful approach keeps the subfloor intact and reduces mess.
Loosening grout and breaking the first tile safely
Score grout lines with a utility knife or a grout remover to free joints. Start at a broken or loose tile where possible.
Use a cold chisel and hammer at a low angle to lift the first piece. Work slowly so you do not gouge the slab beneath.
Mortar bed versus direct adhesive
Mortar-bed tiles often come away in chunky sections and create more rubble. Direct adhesive tends to lift cleaner but leaves a thin layer of adhesive residue to scrape.
Expect mortar works to need heavier demolition tools; for adhesive-set tiles we plan more scraping rather than brute force.
Clearing shards and managing debris
Tiles create sharp fragments and fine dust, so we seal vents, ventilate the area and clear dust debris often to avoid slips and cuts.
Use sturdy buckets or rubble bags for shards. Never overfill and keep a clear walkway to the exit for safe disposal and recycling.
- Step 1: Score grout and isolate the area.
- Step 2: Break a starter tile with chisel at a low angle.
- Step 3: Lift tiles in controlled sections and clear debris frequently.
- Step 4: Use a floor scraper to remove remaining ridges without damaging the slab.
“Controlled breaking protects the slab and reduces follow-on work.”
Subfloor clean-up and preparation for new flooring – Flooring removal and disposal
Great new finishes start with a great subfloor. We treat subfloor work as a distinct, essential stage — not an afterthought — because accurate floor preparation saves time and prevents problems later.
Our sequence of steps follows a clear order so installers get a stable, flat base:
- Scrape high ridges and remaining adhesive residue with a trusted floor scraper.
- Remove staples, nails and any hidden fasteners with care to avoid telegraphing or squeaks.
- Patch low spots using suitable materials or a self‑levelling compound where needed.
- Smooth edges at transitions, then vacuum thoroughly to remove dust before new flooring is laid.
Moisture checks and levelling decisions
Concrete slabs in Pretoria can retain moisture after leaks or wet seasons. We test slab moisture early. If readings are high we recommend a moisture barrier or allow extra drying time before using levelling compound.
When do we patch versus level? Isolated dips get local patchwork. Widespread waves need full levelling. That choice affects materials, tools and total time on site.
Tools, materials and a practical time guide
Accuracy matters: we use a straightedge, spirit level, floor scraper, trowels and a high‑capacity vacuum.
| Task | Typical time (small room) | Why it matters |
|---|---|---|
| Scraping adhesive residue | 2 hours | Removes lumps that would telegraph through new coverings |
| Solvent application for stubborn adhesive | 1 hour (plus dwell time) | Softens residues so scraping is effective |
| Fastener removal (staples, nails) | 1 hour | Prevents squeaks and bumps under new material |
| Patching low spots / levelling | 3 hours (local); 6–10 hours (full levelling) | Creates a flat, stable base for new flooring |
| Final smoothing & vacuum | 30–60 minutes | Removes dust so adhesives bond correctly |
“A methodical pass for hidden fasteners prevents costly callbacks and keeps installation time predictable.”
Disposal, recycling, and responsible waste handling in Pretoria – Flooring removal and disposal
Sorting materials on site saves time, cuts costs and boosts recycling rates.
Why planning waste is part of the removal process: mixed loads slow the work and reduce recycling potential. Early sorting keeps clean timber and reusable planks separate from tiles, mortar and underlay. That lowers fees and speeds load‑out.
How we sort on site
We separate clean wood from laminate/HDF, stack reusable planks flat, and bag underlay on its own. Tiles and mortar go in a different pile to avoid contamination.
Reuse and recycling guidance
Undamaged boards may be repurposed for small repairs or second‑hand resale. Some centres accept engineered wood and HDF for recycling, but rules vary, so we consult local guidance before drop‑offs.
Skip and rubble planning
Small rooms often fit into multiple rubble bags. Full‑house projects usually need a skip or roll‑on unit. Estimate volume early to avoid overage and extra trips.
| Disposal option | Best use case | What not to mix |
|---|---|---|
| Recycling centre | Clean timber, engineered boards | Tiles, wet mortar, dirty underlay |
| Skip service | Large projects or full‑house work | Sharp tile shards not double‑bagged with soft waste |
| Rubble bags | Small rooms or corridors | Heavy chunks of mortar mixed with light debris |
Safe handling basics: double‑bag shards, do not overfill sacks, and stage heavy loads near exits to protect residents in complexes. Sharp items go in labelled containers so cleaners and porters stay safe.
Logistics note: good access along the N1/N4 and near Menlyn or Centurion speeds collection. Busy days by Loftus Versfeld or tight CBD lanes can add time, so we plan routes in advance.
“Handyman Pretoria approaches waste with a ‘leave it cleaner than we found it’ mindset; we keep the area tidy from first lift to final sweep.”
Flooring removal and disposal: Conclusion
A tidy finish starts with careful planning, the right kit and steady progress.
Use this short guide as a checklist: prepare the zone, wear PPE, choose the correct tools, follow safe steps and keep dust contained. These actions save time and reduce rework.
Three priorities: protect people with proper gear; protect the subfloor with controlled prying and scraping; protect the schedule by planning waste handling and access in busy Pretoria areas like Hatfield and Menlyn.
If works involve glued timber, thick mortar beds or uncertain materials in older homes, get help to avoid costly damage. Sort materials on site for recycling where possible and keep disposal responsible so the surface is genuinely ready for new flooring.