
Custom Joinery Solutions: Superior to Standard Wardrobes
Built-in wardrobe installation is a practical, local solution we outline here for Pretoria homeowners who want tidy, efficient storage without wasting space.
What is it? A built-in is a fixed storage unit tailored to fit walls or alcoves. Simple designs free up floor area in townhouses, flats and family houses. Good design makes daily routines neater for busy families near Union Buildings or commuters around Church Square.
This guide suits handy DIYers who can cut boards to size, yet it also points out when it is smarter to hire a professional service. If you lack time, tools or confidence, a local team offers speed and a neater finish.
We introduce Handyman Pretoria as the local advocate for this how-to, then use we for the rest of the article to keep tone steady.
What you’ll learn: planning a layout, measuring, choosing materials, building the frame, fitting doors and budgeting in Pretoria. At-a-glance: DIY vs Professional Install compares time, tools, finish quality and risk to help you decide – Contact Us
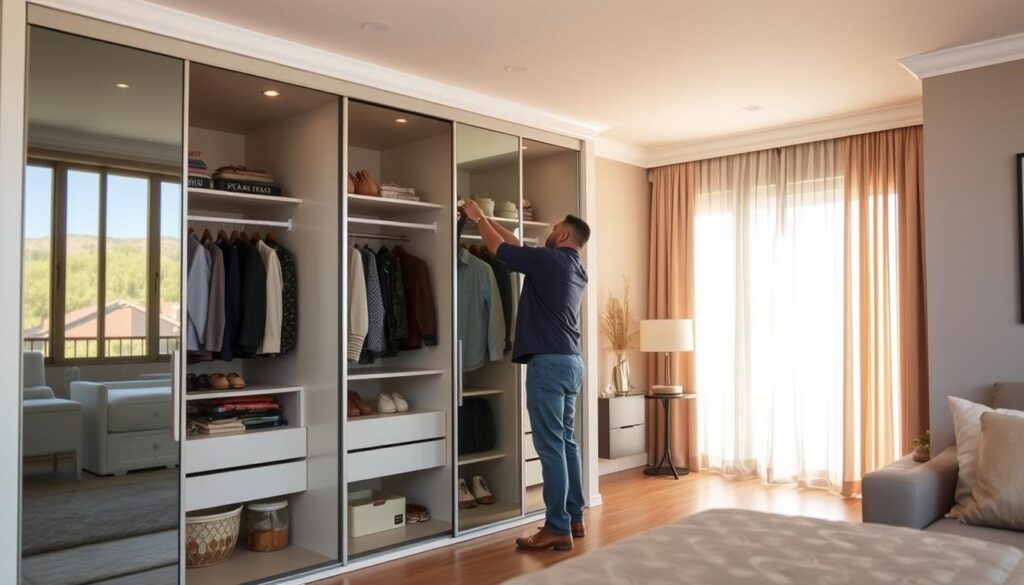
Planning a space-saving wardrobe design for Pretoria homes – Built-in wardrobe installation
We start each project by mapping how you use your room, then match layout and doors to those daily needs. This helps us create a simple design that saves space while fitting your style.
Choosing the right layout for your bedroom, flat or townhouse
For compact Hatfield flats we favour single-wall runs or shallow shelving to keep walkways clear. Menlyn Maine apartments suit L‑shape corners that tuck storage into a living area. Older Brooklyn homes often need alcove builds to use odd nooks.
Sliding, hinged or folding doors: what suits your room and wall space
Sliding doors win in tight areas where swing clearance is limited. Hinged doors give full access when floor space allows. Folding doors work well for awkward openings and narrow rooms.
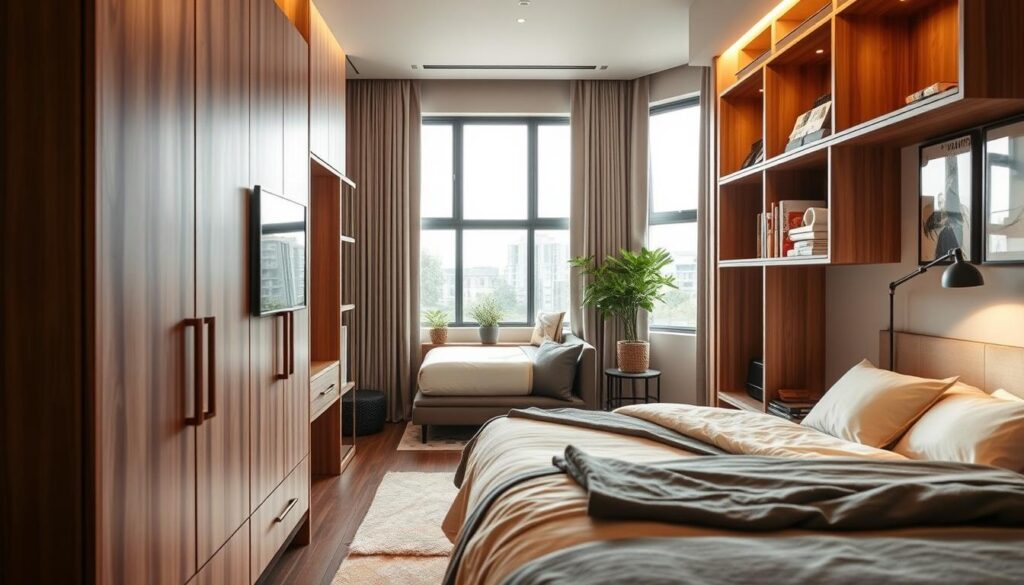
Storage priorities: hanging rails, shelving, drawers and shoe zones
We set priorities by your daily routine. Tall hanging for coats, split rails for shirts, shallow shelves for folded items and a shoe zone at the base cut clutter. Consider an optional pull-down clothes lift for high storage.
Local considerations in Pretoria: heat, dust and daily wear
Durable finishes, easy-clean tracks and smart internal zones reduce wear from Pretoria dust and warm summers. We also advise matching finishes to bedside tables for a cohesive look.
| Room type | Recommended design | Door type | Storage focus |
|---|---|---|---|
| Hatfield flat | Single-wall run | Sliding | Shelves + shallow rails |
| Menlyn Maine apt | L-shape corner | Hinged | Mixed rails + drawers |
| Brooklyn home | Alcove build | Folding | Tall rails + shoe zone |
Checklist for your first consult:
- Photos of the room and current furniture
- Rough measurements of the area
- List of storage needs and style preferences
- Preferred door or door style
Measuring your space accurately before you start – Built-in wardrobe installation
Accurate measuring makes or breaks any cupboard project; a few millimetres can ruin door alignment and the final finish. We treat this step as a must-do in our process and follow simple rules to avoid costly re-cuts.

Floor-to-ceiling checks with a spirit level and why uneven surfaces matter
Measure floor-to-ceiling at least three times — left, centre and right. Use a spirit level to check for crowns or dips.
If the floor or ceiling is out of level, sliding doors can roll and hinged doors can stick. Compress carpet where needed to get the true height. Record the shortest height as the cut size.
Wall-to-wall measurements: taking multiple readings for a seamless fit
Take wall-to-wall readings at top, middle and bottom. Note any bows or curves and mark the widest width.
We use the widest safe width and the shortest height so panels can be scribed or lined to the wall when we fit the frame.
How to account for skirting, coving and existing trims
Skirting, coving and trims change cabinet depth and side placement. Decide whether to scribe panels to the trim or to remove/replace trims before work starts.
Allowing for packers, shims and fillers when walls or floors aren’t straight
Use packers behind uprights, under the base and along walls to keep the frame plumb. Thin fillers or liners help close gaps and give a neat finish.
Tip: fit shims temporarily, re-check with a level, then fix permanently.
| Check | How to measure | Re-check before cutting |
|---|---|---|
| Floor‑to‑ceiling | Left / centre / right with level | Shortest reading; level check |
| Wall‑to‑wall | Top / middle / bottom | Widest width; note bows |
| Trims & skirting | Depth from face of trim to wall | Decide scribe or remove |
| Final frame plumb | Use spirit level on uprights | Allow packers where needed |
| Common measuring errors | Fix | |
| Measuring once | Measure three times at different points | |
| Not checking level | Use a spirit level and record deviations | |
| Ignoring skirting | Scribe panels or remove trim before cutting |
Local note: older homes near Pretoria CBD often have uneven floors and walls. We plan extra time for levelling and scribing so the final built-in wardrobe fits cleanly in a bedroom or hallway.
Materials and hardware requirements for a durable built-in wardrobe – Built-in wardrobe installation
Good material choices and the correct hardware decide how well your storage performs over years of daily use.
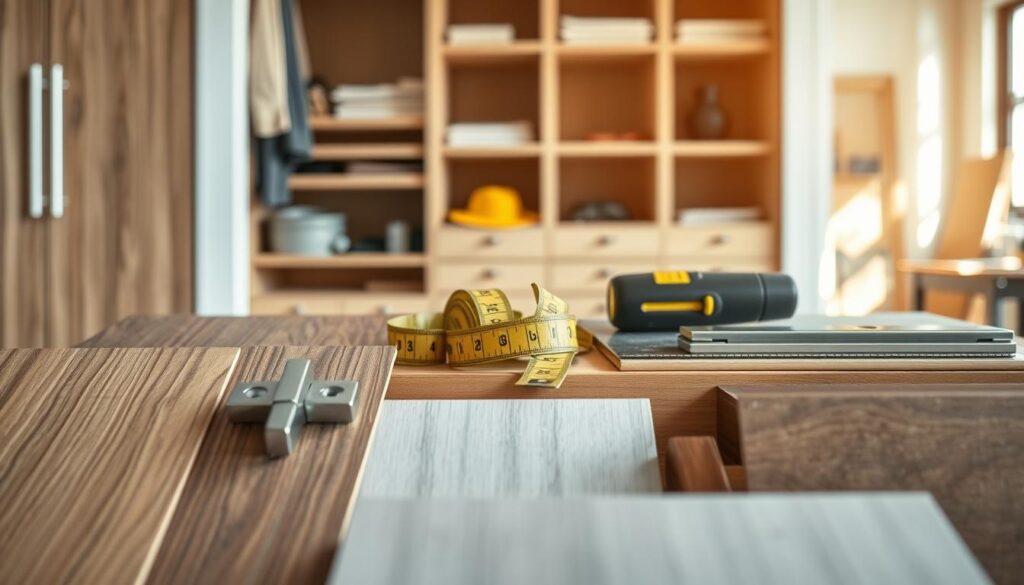
“Choose boards and fittings that suit Pretoria’s heat and dust — they save time and future repairs.”
How MDF, plywood and solid wood compare
MDF is smooth and affordable. It sands and accepts paint well, so doors look neat. It is heavier and less moisture tolerant than plywood.
Plywood resists moisture better and holds screws. We use it where strength and durability matter in higher-traffic bedrooms.
Solid wood gives premium looks and longevity but raises the cost. Use it for visible panels or trim where character matters.
Sheet goods, edging and local options
PG Bison SupaWood is paint-grade and suits painted doors. PG Bison MelaWood is pre-finished; allow 1mm–3mm for edging so doors align cleanly.
Hardware and tooling essentials
- Euro/concealed hinges (hinge cups drilled with a 35mm Forstner/MAD-bit)
- Quality screws, brackets, shelf pins for adjustable shelving and strong hanging-rail supports
- Tools: tape measure, drill/driver, square, spirit level and clamps
| Material | Durability | Moisture tolerance | Best use |
|---|---|---|---|
| MDF | Medium | Low | Painted doors, internal panels |
| Plywood | High | Medium-High | Structural panels, closet carcases |
| Solid wood | Very High | Variable | Trim, visible fronts |
| Item | Purpose | Note | |
| Euro hinges | Hinged doors | Requires 35mm hinge holes | |
| Screws & brackets | Fixing frame | Stainless for humid areas | |
| Shelf pins & rails | Adjustable shelving | Choose solid supports | |
| Finish | Look | Best for Pretoria | |
| Paint | Custom colours | SupaWood painted doors | |
| Laminate | Low maintenance | High-traffic bedrooms | |
| Veneer | Natural grain | Premium rooms |
Maintenance note: lighter painted finishes show dust; darker laminates show fingerprints. Choose finishes to suit your cleaning habits and daily use.
Built-in wardrobe installation: a practical step-by-step process
We guide you through a clear step-by-step process so the frame sits true and the doors run smoothly. Follow this method on-site to avoid common mistakes and save rework time.
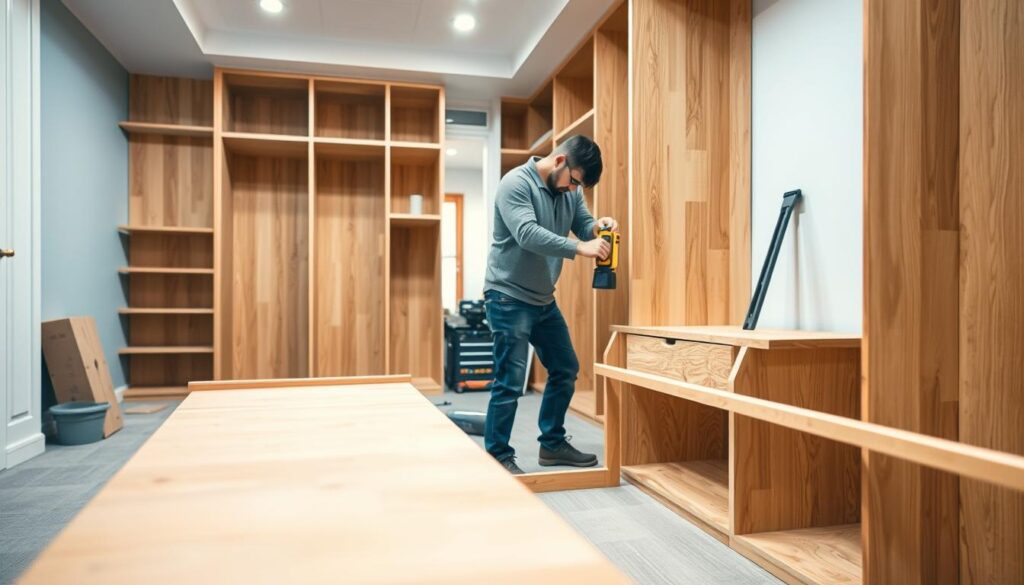
Assembling a solid base
Protect the floor, mark your lines and assemble the base off the wall. Join the base with wood glue and 3.5 x 40mm screws; add base supports to stop sag and keep door gaps consistent.
Keep the frame square and plumb
Stand uprights and check diagonals. Use a spirit level and shims where walls or floors aren’t straight. Door alignment issues usually start if the frame is out of square.
Uprights, fixings and the top shelf
Fix uprights with corner brackets or angle braces into solid structure. If unsure where to anchor, pause and call an expert.
Add a top shelf for high storage or fit a clothes-lift where reach is limited. The top unit gives rigidity and extra capacity.
| Step | Time | Common mistake |
|---|---|---|
| Prep & protect | 30–60 mins | Skipping floor protection |
| Assemble base | 60–90 mins | Loose glue or wrong screws |
| Stand & plumb frame | 45–90 mins | Not checking diagonals |
| Fix uprights & top | 60 mins | Wrong anchor points |
| Interior fit-out | 60–120 mins | Incorrect rail height |
| Pre-install site checklist | Why it matters | |
| Floor protection & dust control | Protect finishes and reduce clean-up | |
| Tools & hardware counted | Prevents delays | |
| Boards labelled | Speeds assembly and reduces errors | |
| Clear access & lighting | Safer working |
“A solid base and a plumb frame make the rest of the project straightforward.”
Tip: call an expert if walls are badly out of square, if you plan sliding doors, or if you can’t commit the time to do the job carefully.
Installing doors, tracks and finishing details for a clean look – Built-in wardrobe installation
Doors, tracks and final trims are the details that lift a project from good to polished.
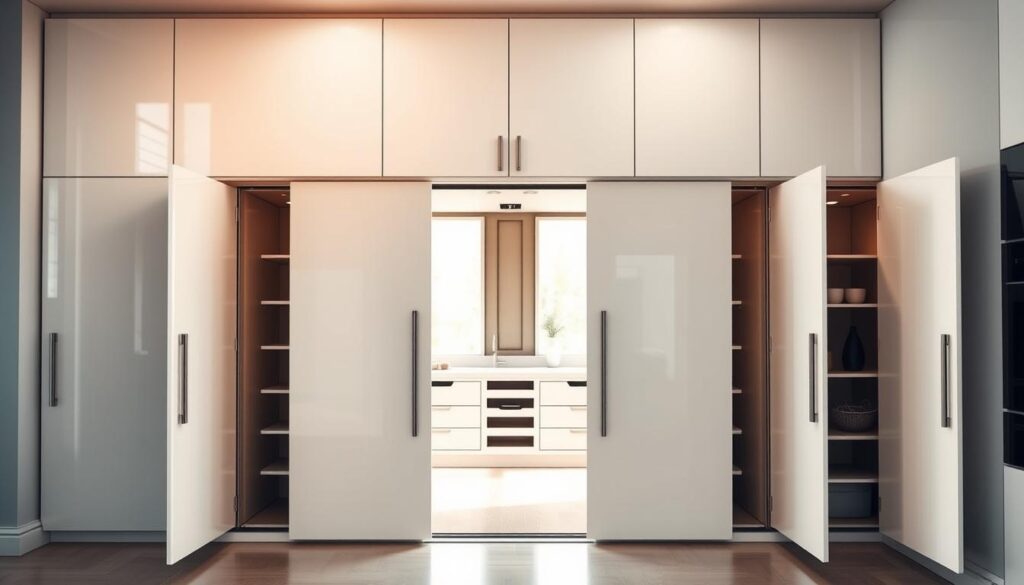
Setting up sliding tracks vs hinged doors and avoiding door roll
Sliding systems need perfectly level tracks; hinged doors need accurate hinge alignment. The frame must be true for both to work well.
To reduce door roll on sliding doors we level tracks carefully, check for bows and use packers where floors or ceilings slope. That simple step keeps doors running smooth.
Drilling hinge cups and positioning handles
For hinge work we drill 35mm hinge cups with a Forstner/MAD-bit, backing the panel to avoid tear-out and keeping hole depth consistent for smooth closing.
Handle placement uses a small jig so heights match across doors. Consistent spacing and alignment creates a premium look that ties to other furniture.
Finishing: paint, trim and matching furniture
SupaWood takes paint well; add frames or mouldings before painting for a cohesive look. MelaWood needs edging allowance so doors meet cleanly.
Tip: match trim style to existing furniture — modern straight edges or classic mouldings — to blend the look.
Plan sanding and painting times considerately; near Loftus Versfeld weekends can be noisy and complexes may have quiet-hour rules.
| Option | Space | Access | Upkeep |
|---|---|---|---|
| Sliding | Good | Partial | Track clean |
| Hinged | Fair | Full | Hinge oil |
| Folding | Good | Full | Mechanism check |
| Task | Note | Sequence | |
| Fill | Close gaps | Before sanding | |
| Sand | Smooth surfaces | After fill | |
| Prime | Seals SupaWood | Before paint | |
| Paint | Two coats | Allow cure time | |
| Final adjustments | Align doors & handles | After cure |
Cost and project planning in Pretoria – Built-in wardrobe installation
Knowing what drives the price helps you decide where to spend and where to save. Start by fixing a clear budget and the size you need. That makes material and finish choices straightforward.
What influences cost: size, materials, interior features and door type
Major cost drivers are overall size, choice of materials (MDF, plywood or solid wood), internal features such as drawers or extra shelving, and door style — sliding or hinged.
- Size alters board and hardware amounts.
- Materials change durability and finish cost.
- Interior features add labour and parts.
- Door choice affects tracks, hinges and alignment time.
When DIY is realistic and when it’s smarter to bring in an expert team
DIY is realistic if you can measure accurately, keep the frame square and have time to work carefully. Smaller projects with straight walls suit DIYers.
Bring in an expert when walls are uneven, doors are complex or timelines are tight. We can help plan, source and install; after that, we continue to advise on finish choices and access.
Pretoria areas we commonly work in and landmark planning
We regularly visit Brooklyn, Hatfield, Menlyn Maine and Pretoria CBD. Access rules and parking differ by area.
Plan around Loftus Versfeld event days, security and traffic near the Union Buildings, and busy periods at Church Square to avoid delays to deliveries and visits.

| From | To | Includes | Notes |
|---|---|---|---|
| R3,000 | R6,000 | Materials-only small run | Basic panels, simple rails |
| R6,300 | R12,000 | Materials + basic fit | Standard doors, local labour |
| R12,300 | R24,000 | Premium materials + fitted | Better finishes, drawers, pro labour |
| Choice | Typical shift | Example | |
| Door type | R300–R2,700 | Sliding tracks cost more | |
| Finish | R300–R3,000 | Painted vs veneer affects price | |
| Internal features | R300–R4,500 | Drawers, shoe racks, soft-close |
Tip: discuss access and parking ahead of time so site visits and deliveries run smoothly.
Built-in wardrobe installation: Conclusion
A tidy finish depends on two simple things: precise measuring and a square, solid frame. Get these right and doors run true; get them wrong and small errors grow into cost and delay.
We summarise the journey: plan a space-smart design, measure carefully, select suitable materials and wood, fit correct hardware, then finish for a neat look. Prioritise hanging, shelving, drawers and a shoe zone so your wardrobe supports daily life.
Next steps: sketch your layout, list materials, confirm door choice and decide DIY or call our team. Final pre-cut checklist:
Final pre-cut checklist: measurements confirmed; edging allowance noted; hardware counted; finish plan chosen.