
Restore Functionality with Professional Blind Technicians
Curious whether a quick fix can save your window coverings from an early replacement? In this practical how-to we show how Blind repairs and maintenance often extends the life of window blinds by years, saves money and cuts household waste.
We write from a local angle: Menlyn Maine offices, Lynnwood family homes, busy home office setups in Centurion. We are Handyman Pretoria; throughout this piece we will use “we” to guide you step by step.

This short guide explains how to diagnose faults, try safe DIY fixes, set up simple cleaning routines and spot when it is better to call for faster help. Simple habits make window coverings perform better and reduce waste.
What this guide covers: quick checks; cord safety; gentle cleaning; pulley checks; tilt and lift tips; minor part swaps; when to call us; tool list; safety reminders.
We keep a safety-first approach: stable ladders, careful cord handling plus never forcing a stuck mechanism. Follow our steps today to keep blinds looking smart in both home and home office settings – Contact Us
Why blinds fail in Pretoria homes and offices around Menlyn, Lynnwood and Centurion – Blind Repairs and Maintenance
Daily use in Menlyn, Lynnwood and Centurion quietly wears parts until a single snag becomes a problem. We see the same causes in homes and small offices: tugged cords, cracked slats and loose brackets from repetitive opening and closing.

Everyday causes: cords, slats, brackets, grime and water exposure
Sun, dust and traffic pollution make grime build up fast, especially near busy roads or a home office in Menlyn. Kitchens and bathrooms add moisture; a little water can swell timber, stain fabric or corrode metal fittings.
When “quick fixes” make the problem worse
People often yank a cord, twist a wand harder or force a track. Those actions can fray cords, bend brackets or damage the headrail, turning one small issue into a larger repair.
- Early warning signs: uneven lift, scraping noises, stiff tilt action — act early.
- Local note: rentals and busy offices in Centurion wear faster; small habits help a lot.
| Common fault | Typical cause | Quick sign |
|---|---|---|
| Uneven lift | Cord slip or fray | One side higher |
| Stiff tilt | Dirt in mechanism | Hard to rotate slats |
| Loosened bracket | Repeated use | Wobble at top |
In the next section we share simple tools and prep that make any repair safer and faster. Use our practical tips to spot faults before they worsen.
Tools and prep we use for safer blind repair at home – Blind Repairs and Maintenance
Before we lift a tool, we organise a clear, safe workspace so jobs finish faster and cleaner.
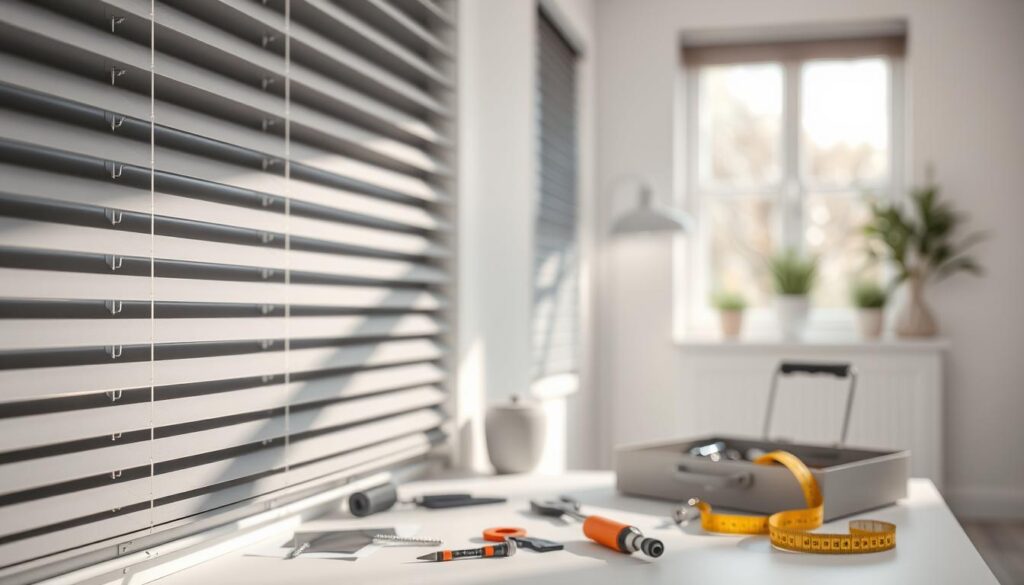
Basic toolkit checklist for window blinds
- Screwdrivers — Phillips and flat heads to remove brackets and covers.
- Pliers — grip small parts and aid cord knots without fraying.
- Small spirit level — quick check to spot a skewed headrail.
- Tape measure — confirm drop and bracket spacing.
- Step ladder — safe reach for high frames.
- Cleaning cloths — remove dust before reassembly.
- Torch — inspect headrails and hidden brackets.
| Tool | What it’s for | When you’ll need it |
|---|---|---|
| Screwdrivers | Remove or tighten screws | Bracket work, headrail access |
| Pliers | Hold small parts, reshape pins | Cord fixes, tiny clips |
| Spirit level | Check alignment | Uneven lift or wobble |
| Tape measure | Measure drops | Repositioning or replacements |
| Step ladder | Safe access at height | High windows, loft frames |
| Cloths & torch | Clean and inspect | Before reassembly |
Safety and setup tips for high windows and tricky frames
Clear the sill, move furniture away and protect the floor with an old sheet. Keep small parts in a tray so nothing disappears.
Place the ladder on stable ground and have a second person steady it. Never stretch sideways; climb down and reposition the ladder instead.
Take quick photos of the headrail, cord route and bracket positions before disassembly. This saves time at reassembly and reduces mystery spare screws.
Household note: keep kids and pets out of the room during a DIY fix to avoid sudden pulls. Tools help, but correct diagnosis is the next essential step in the following section.
Blind Repairs and Maintenance: diagnose the problem before you start
Start every check with a calm, methodical sweep: look, listen and feel for obvious signs. This simple routine catches most faults quickly and avoids needless guessing.
Quick visual checks for tangled cords, jammed mechanisms and uneven lift
Look for skewed headrails, frayed cords and slats that sit out of line.
Listen for scraping or grinding when the blind moves; that often points to a stuck track or jam inside the headrail.
Feel for uneven resistance when you raise or lower the blind — a strong hint that a cord has slipped or a slat is misrouted.

| Symptom | Practical solution | When to stop DIY |
|---|---|---|
| Uneven raising | Pull tassel so all cords move together; check cord routing in headrail | Headrail cracked or repeated jams after re-threading |
| Cord won’t lock | Inspect clutch for debris; gently reset locking bead | Stripped clutch or broken locking mechanism |
| Louvres won’t rotate | Clean tilt gear, check wand or tilt chain alignment | Broken tilt gearbox or snapped gears |
| Vanes dragging in track | Remove obstruction, realign carrier clips | Damaged track or bent carriers |
| Slat marks or cracks | Replace single slat where possible | Multiple cracked slats or warped headrail |
| Fault severity | DIY friendliness | Risk of making it worse |
| Minor (cord tangle, dirt) | High | Low |
| Moderate (clutch reset, bracket tweak) | Medium | Medium |
| Major (cracked headrail, stripped screws) | Low | High |
Quick checklist before any step: confirm bracket tightness, check cord fraying, clear track obstructions, and look for warping.
Stop signals — pause and call us if you find a cracked headrail, stripped screws in frames, or repeated jamming after re-threading. These indicate a higher risk of further damage.
Once the diagnosis is clear, the next section gives a step-by-step approach so we can fix common problems with confidence and fewer mistakes.
Step-by-step DIY repairs for the most common issues – Blind Repairs and Maintenance
We now walk through simple, safe steps that fix the faults we spot most often.

Fixing a jammed cord so the blind raises evenly
Step 1: Lower tension so the headrail relaxes. Hold the tassel or cord bundle.
Step 2: Pull gently so all cords run together. Test lift in small increments until even.
Untangling cords without snapping or fraying
Slack the blind, separate strands with fingers and avoid knives or sharp tools. Re-route cords along their original path.
Why not yank? Sudden pulls can fray fibres, strip locks or crack fittings and cause more work.
Replacing a damaged slat on vertical blinds
Unhook the damaged vane, match size and finish, then clip the new slat into the carrier.
Check the chain and weights so the set hangs straight before testing travel.
Realigning louvres and tracks for smoother movement
Remove dust, inspect carriers for bends and ensure vanes sit flat in the track. Move the blind slowly to confirm smooth travel.
“Keep internal parts dry — water speeds corrosion or warping, so avoid wet methods near mechanisms.”
| Issue | What you can try | Parts commonly needed | Approx. difficulty | Typical time |
|---|---|---|---|---|
| Jammed cord | Lower tension, pull tassel, test lifts | Replacement cord, cord ends | Medium | 15–30 min |
| Tangled cords | Slack, separate by hand, re-route | No parts usually | Low | 10–20 min |
| Damaged slat (vertical blinds) | Unhook, replace vane, align chain | Replacement slat | Low–Medium | 10–25 min |
| Misaligned louvres | Clean track, straighten carriers | Carrier clips | Medium | 20–40 min |
When to get parts instead of forcing a fix: cracked carriers, stripped locks or repeated jamming mean a replacement part is the smarter option.
Final check: run the blind through several open/close cycles, confirm even lift and smooth rotation before you finish.
Cleaning and maintenance routines that extend blind life – Blind Repairs and Maintenance
A short cleaning routine can add years to your window fittings while cutting friction and grime. Consistent care reduces wear on cords and moving parts. This saves time, money and avoids emergency diy fixes.

Weekly dusting technique
Tilt louvres fully to one side and dust top to bottom. Reverse the tilt and repeat so you remove dust rather than shift it.
Weekly vacuuming
Use a soft brush attachment once a week in busy home rooms. This prevents grime build-up which increases strain on mechanisms.
Spot-cleaning fabric and material types
Blot marks with a damp cloth. Test an unseen area first and avoid scrubbing which can damage fibres.
Deep cleaning Venetian (aluminium/wood-effect)
Open fully and remove carefully. Soak in tepid water with 4 litres of white vinegar, rinse in cold water, then dry flat on clean towels before rehanging. Use no extra detergents.
Wood slat care
Do not soak real wood; soaking warps slats. Dust with a soft cloth or vacuum brush, and use a barely damp cloth only if the maker recommends it.
| Type | Weekly | Monthly/Seasonal |
|---|---|---|
| Fabric | Spot-clean | Deep clean seasonally |
| Venetian (aluminium/wood-effect) | Dust, vacuum | Soak with vinegar when needed |
| Wood | Dust only | Light service yearly |
| Vertical | Dust, vacuum | Deep clean quarterly |
| Cleaning method | Safe for | Avoid if |
| Damp cloth | Fabric, faux wood | Real wood, delicate finishes |
| Vinegar soak | Aluminium, wood-effect | Real wood, painted surfaces |
| Vacuum brush | Most types | Loose trims, frayed cords |
Consistent cleaning is the easiest safeguard. A simple routine keeps operation smooth, extends life and cuts the chance of emergency repairs. Use these practical tips as a quick guide for Pretoria and Centurion homes.
Repair vs replacement in South Africa: cost, time and sustainability – Blind Repairs and Maintenance
Deciding whether to fix or replace often comes down to parts availability, downtime and the expected life of the fitting.
In local homes and offices a small fix can restore function quickly. It saves resources and keeps materials out of landfill. When the frame is sound, a targeted fix often adds several years of useful life.

How repairs can add years of use and reduce waste
Repairs usually mean less waste and shorter waiting times than full replacement. We choose fixes when issues are isolated: cords, carriers or misalignment. That approach keeps service life high while cutting environmental impact.
Repair-or-replace decision checklist (home, office, rental)
| Scenario | Key driver | Likely choice |
|---|---|---|
| Home — well‑kept | Parts available, low wear | Repair |
| Office — high use | Downtime critical, standard size | Repair if fast; replace if recurring |
| Rental — frequent turnover | Tenant wear, quick turnaround | Replace when heavily damaged |
| Best candidate for repair | Best candidate for replacement | |
| Frayed cord, stuck carrier, single warped slat | Cracked headrail, severe sun‑damage, repeated failures | |
| Standard sizes with available parts | Custom units with obsolete parts |
Our view is balanced. We match the fix to the problem, not push one option. Our expertise and team help find the right solution today.
When to call us for fast help in Pretoria and Centurion – Blind Repairs and Maintenance
If a quick tweak doesn’t free the mechanism, getting local help quickly avoids bigger problems. We step in when a jammed cord method fails or the headrail shows stress that risks more damage.

What our Handyman Pretoria team can handle near Centurion Mall, Menlyn Maine and the Voortrekker Monument
We handle cord faults, alignment adjustments, bracket refits, track and louvre tweaks, plus part replacement where needed. Our team brings common spares and the tools to finish most jobs with minimal disruption to a home office day.
What to prepare for a faster quote and smoother on-site assessment
To speed a quote, take clear photos, note material type and give approximate width and drop. Tell us how long the issue has been happening. These details cut inspection time and help our techs come prepared.
- Stop DIY if cords keep jamming, locks won’t reset or the headrail looks cracked.
- We aim to diagnose fast, fit parts where sensible and choose replacement only when it prevents repeat faults.
| What to prepare | Why it speeds things up | Notes |
|---|---|---|
| Photos of the blind | Shows type, damage and bracket layout | Attach to your quote request |
| Clear access to window | Saves time on arrival | Move furniture if possible |
| Parking details | Helps prompt arrival | Useful near malls or busy roads |
| Landlord consent (if rental) | Avoids delays on-site | Have permission ready |
“We prefer to fix the root cause, not simply patch symptoms.”
Ready for a quote? Send the photos and details above. A clear brief gets us there faster and keeps repairs reliable.
Blind Repairs and Maintenance: Conclusion
A calm check, a careful step and simple cleaning usually stop small faults from growing. We find that quick diagnosis plus a gentle approach keeps the mechanism working and saves time.
Key takeaways: most issues—cord jams, minor misalignment and basic grime—respond well to one clear repair action or a short DIY clean. Regular dusting and weekly vacuuming cut friction and extend life across many types of blinds.
Next action: keep a simple routine, re‑check after a day or two of normal use, and if a fault returns it signals the internal parts need a deeper fix. This guide aims to help you spot what to try first and when to seek a professional.