
Transform Your Space with Expert Glazing Contractors
We offer Bay and Bow Window Installation that can transform a typical Pretoria living room—whether in Hatfield or Brooklyn—by adding natural light and creating a cozy alcove within your home. As Handyman Pretoria, we write in the first person plural and guide you through planning, measurements, structural checks and the practical steps needed to fit these features safely.
What this guide covers: simple advice on tools, removal, fitting, sealing and finishing. We explain how extra glass brightens interiors, reduces daytime lighting needs and why correct sealing matters for comfort and to avoid water damage.
Who it’s for: DIY planners and homeowners comparing professional work. We work across Pretoria’s suburbs and older homes, and we’ll highlight local considerations throughout.
Outcome | What changes | What to check
More light | Better views | More wall complexity – Contact Us
Welcome: planning your upgrade in Pretoria homes – Bay and Bow Window Installation
When we plan an upgrade in Pretoria, our first step is a careful survey that maps structure, light and sightlines. This sets expectations and reduces costly mistakes.
How we’ll guide you from first measurement to final seal
We follow a clear roadmap to keep the process simple and safe for homeowners. Assess structure, measure accurately, confirm sizes, remove old frames, fit the new frame, weatherproof and test operation.
“A structured approach saves time and protects the house fabric.”
- Survey mindset and careful measurements.
- Safe removal and accurate fitting.
- Meticulous sealing for draft-free finishes.
Where these changes suit Pretoria best
We recommend living-room upgrades in Lynnwood and Brooklyn where light and views matter. Menlyn dining areas benefit from panoramic options, while street-facing projects in Hatfield boost kerb appeal.
Pretoria CBD projects need extra checks for façades, approvals and structural readiness.
Local design inspiration
Classic symmetry around the Union Buildings suits a formal three-panel layout, while softer curves near the Voortrekker Monument favour a panoramic design that echoes heritage lines.
| Room + goal | Best option | Why it works in Pretoria light |
|---|---|---|
| Living room — seat nook | bay window | Frames a view and captures northern light without harsh glare. |
| Dining — panoramic view | bow window | Soft curve spreads light evenly at mealtimes. |
| Street-facing — kerb appeal | bay window | Strong symmetry improves façade presence on older streets. |
Quality expectations: we aim for level, plumb frames, correct support and neat reveals so the final seal is draft-free and durable.
Bay and Bow Window Installation: what you’re actually installing
Choosing the right projecting unit starts with knowing how panels, vents and depth affect daily use.
Three-panel projection basics: a traditional three-panel projection creates an interior alcove and a strong external feature. The central panel is often fixed, with side sashes that open for airflow and easier cleaning. This layout suits standard opening sizes and gives a clear seat or storage option.
Multi-panel curve basics: a curved assembly usually uses four to six panels. It spreads light across a wider wall and offers a softer exterior profile. Fewer of the panels open, so ventilation is often through selected sashes rather than across the whole run.
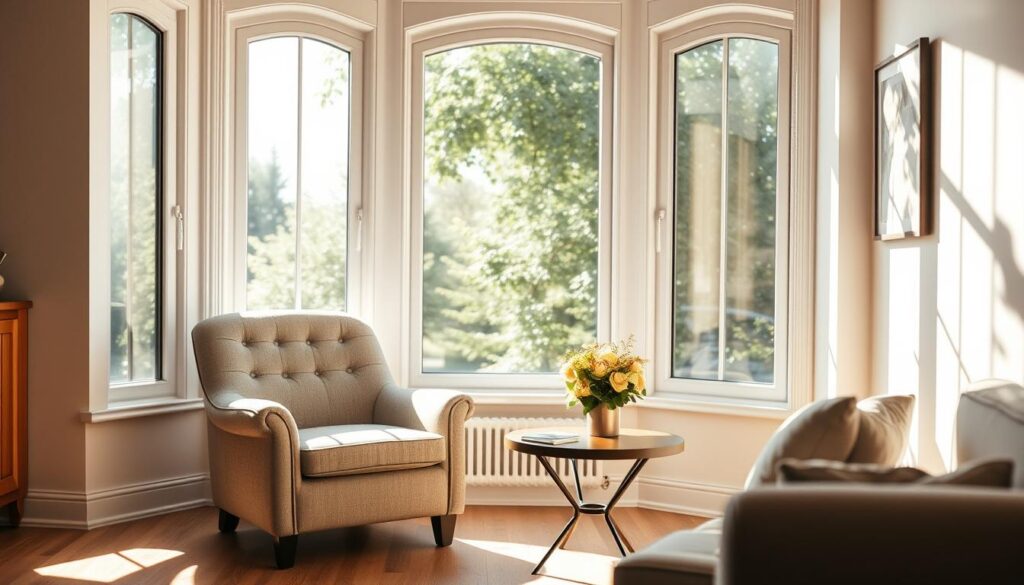
“Pick panels and vents to match how you use the room — light, seating and airflow matter most.”
| Shape | Panels | Ventilation | Light | Typical use cases |
|---|---|---|---|---|
| Angular projection | 3 | Side sashes open for airflow | Focused bay of light | Living rooms with seat nook |
| Curved run | 4–6 | Selective opening panels | Wider, panoramic spread | Wide walls, dining or panoramic views |
| Panel type | Opens? | Best for | ||
| Fixed | No | Maximum light, low maintenance | ||
| Casement | Yes | Good airflow and ease of cleaning | ||
| Top-hung | Yes (partial) | Ventilation when security or rain protection needed |
Decision cues: check room width, desired projection depth, furniture plan and how much opening ventilation you want before you choose size or design. We recommend matching panel choices to daily use for the best outcome.
Is your wall ready? Structural checks before you start – Bay and Bow Window Installation
We begin with a short visual survey of the wall to spot obvious problems before any work starts. This quick check helps us decide whether the opening is safe or needs professional input.
Spotting warning signs
Look for stepped cracks in brickwork, lintel sag and hairline movement near corners. Damp staining around the opening is a strong signal that moisture has affected the mortar or sill area.
Document any findings. Photograph cracks, measure their width and note recent changes. This tells us whether movement is historic or active.
Load-bearing and added support
When we say “load-bearing”, we mean the wall carries weight from above. A projecting unit changes how those loads travel through the structure.
Depending on span and condition, extra support may be required. That can include new lintels, steel brackets or reinforced framing so the opening does not sag or cause seal failure.
Safety note: never guess about structural members. If the wall looks compromised, we call a qualified structural assessor before removal.
- Replacement work often exposes hidden issues once trims and old windows come out, so plan contingencies.
- Poor handling can cause long-term sagging and draft or water penetration.
- Professional support planning prevents costly repairs later.
| Warning sign | Likely cause | What we do next | Risk if ignored |
|---|---|---|---|
| Stepped cracks in brickwork | Foundation or movement issues | Measure, photograph, arrange structural survey | Widening cracks, structural failure |
| Lintel sag above opening | Overloaded or corroded lintel | Install temporary propping, fit new lintel | Sagging frame, poor seal, collapse |
| Damp staining near opening | Faulty flashing or poor mortar | Repair flashing, replace damaged masonry | Rot, mould, reduced insulation |
| Active hairline movement | Ongoing settlement | Monitor, log measurements, seek engineer advice | Progressive damage after replacement |
In Pretoria’s older building stock, hidden defects are common during a replacement. We budget time for assessment and for any extra support work so the new unit operates well for years.
Measurements that prevent expensive mistakes – Bay and Bow Window Installation
We start measurements with small, repeatable checks so a single error never becomes an expensive problem.
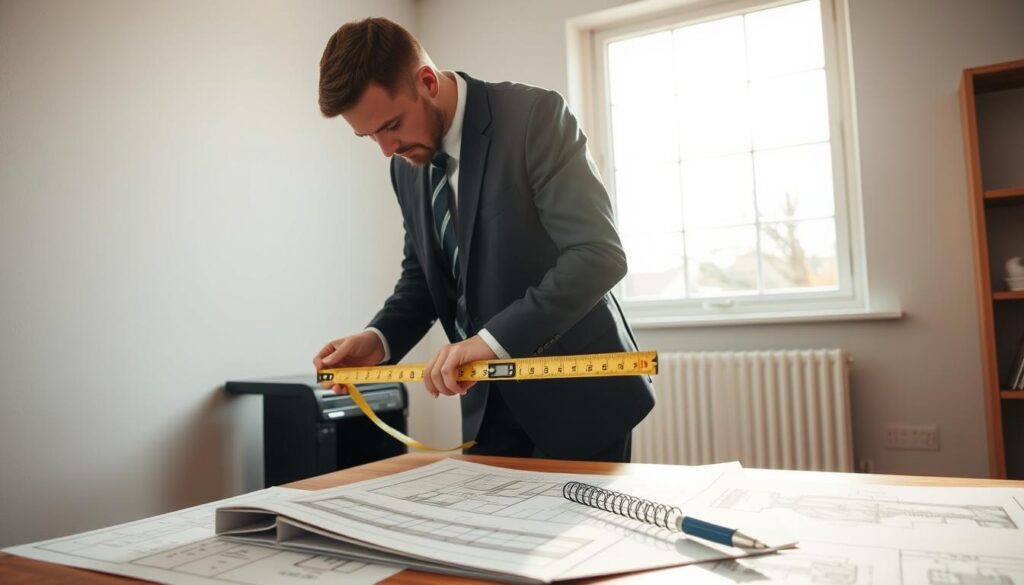
Measuring a projecting unit differs from a flat frame because you must record each section and the internal angle. One wrong number can force rework or poor seals. Measure every face point-to-point and note angles before any removal.
Measuring internal widths section-by-section and capturing the internal angle
Work top, middle and bottom for each section. Record the smallest reading. Use a protractor or digital angle finder to capture the internal angle between faces.
Choosing the “tight” sizes and allowing tolerance for expansion and contraction
We use the tight-size rule: take the smallest width and subtract the contractor tolerance when ordering. This gives room for thermal movement without a loose fit.
Double-checking sizes before removing old windows
Before we remove the old frame we confirm delivered sizes against our site numbers. Make sure the unit matches to avoid leaving the home open.
Measurement checklist
| What to measure | How to measure | Common pitfalls |
|---|---|---|
| Internal width (each section) | Top/mid/bottom; record smallest | Single-point reading; missing variance |
| Internal height | Left/mid/right; note obstructions | Ignoring sill or reveal depth |
| Diagonals | Measure corner-to-corner for squareness | Assuming wall is square |
| Internal angle | Digital angle finder or protractor | Estimating by eye |
| Tolerance planning | Typical allowance | Why it matters |
| Thermal movement | Small gap per side | Prevents binding in heat |
| Frame packers | Variable by material | Keeps unit plumb and supports seal |
| Delivery check | Physical verification | Avoids site delays and exposure |
“Measure more than once and write down where each reading was taken.”
Tools, materials and PPE for a safe installation day – Bay and Bow Window Installation
Preparation wins installations: we gather protective kit, check blades and confirm fasteners before any cut is made. This keeps the team safe and the work on schedule.

Essential PPE
Cut-resistant gloves protect hands when handling glass and metal. Steel-toe footwear shields feet from dropped tools and heavy frames.
We also use eye protection and dust masks during demolition. These items reduce injury risk on a one-day fit.
Core tools and uses
- Tape measure: accurate widths and heights.
- Level: confirm plumb and flat surfaces at every step.
- Saw, screwdriver, chisel, hammer: removing old frame and finishing trims.
- Silicone gun & foam gun: weather seals and controlled insulation.
| Tools | Consumables | Purpose | Readiness check |
|---|---|---|---|
| Level, tape measure | Packers, screws | Set, plumb and secure | Calibrate level; spare packers |
| Foam & silicone guns | Sealants, trims | Insulate and weatherproof | Charged canisters; spare nozzles |
| Saw, bits, blades | Fixings by substrate | Cut and anchor to masonry or timber | Spare blades; correct bit sizes |
| Common site risks | PPE / control | When to pause | |
| Unstable masonry | Gloves, helmets, props | Visible cracks or movement | |
| Unexpected damp | Gloves, respirator | Wet decay in reveal | |
| Falling hazards | Steel-toes, edge protection | Loose scaffolding or tools |
Finally, we recheck levels and measure again mid-fit to make sure the new unit sits true. A short pause to verify prevents costly rework later in the installation of the window unit.
Removing old windows and preparing the opening cleanly – Bay and Bow Window Installation
We start by creating a controlled workspace so removal proceeds smoothly and without surprise damage.
Protect finishes by covering floors and furniture, and isolate the room to limit dust. We remove sashes and glazing first, where safe, to reduce weight before taking out the frame.
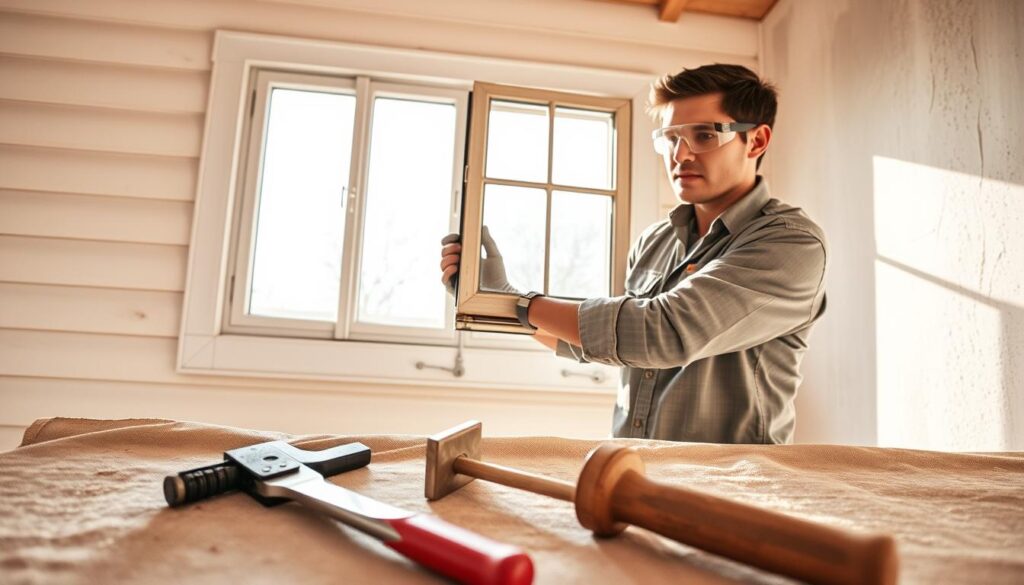
Creating a smooth aperture for easier fitting and better sealing
Our dismantle method is measured and tidy. We take the frame apart piece by piece and clear debris as we go.
To keep the opening neat we remove loose mortar, flatten any proud brick or plaster points and repair minor defects so the new frame sits true. In older Pretoria homes, reveals can crumble; we use gentle hand tools to avoid enlarging the aperture unnecessarily.
Why this matters: a smooth aperture improves alignment, reduces reliance on foam to fix gaps and makes silicone finishing cleaner.
Checks before we proceed
We make sure structural support remains in place and confirm replacement sizes against the real opening after removal. Measure again, then only proceed when all readings match.
| Prep task | Why it matters | Quality check |
|---|---|---|
| Remove sashes/glass | Reduces weight for safe frame removal | No cracked glass left; safe disposal |
| Clear loose mortar | Creates flat bedding for new frame | No loose substrate; solid contact |
| Repair minor defects | Prevents gaps and uneven seals | Dry surfaces for sealants; even reveal |
“Leave the opening as true and clean as possible so the new unit fits without tricks.”
Fitting the new bay or bow frame: step-by-step installation process – Bay and Bow Window Installation
We begin the fit by seating the central panel first, because it sets the datum for the whole projection.
Setting the middle section: place packers under the frame at specified points, check level and plumb, then add temporary fixing screws to hold the position while we fine‑tune. Make sure the level reads the same top and bottom before moving on.
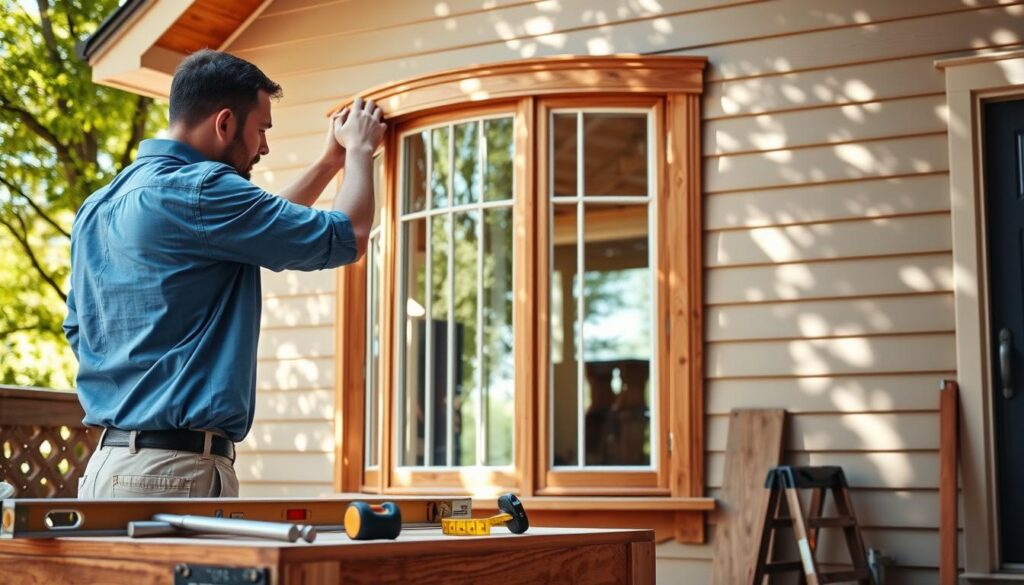
Side returns and level consistency
Install the side returns one at a time and pack from the highest point so all faces become true. We check level across joints and across the face to avoid twist or racking.
Frame adaptors, poles and screw cautions
Fit frame adaptors seated on the frame lip and install bay poles where extra support is needed. Make sure screw placement never penetrates the sash chamber; screws must secure the frame without binding moving parts.
Sills, angles and reattachment
Measure sill angles before cutting and allow for bay posts — commonly about 9 mm but always verify on site. Reattach the sill firmly and seal neatly where the sill meets the frame to prevent dust ingress and water paths.
Operational checks
Refit any removed sashes, test smooth opening and closing, and confirm locking points align. We also check for even reveals and consistent gaps around the reveal.
Installation sequence
| Step | Key action | Quality checkpoint |
|---|---|---|
| 1. Middle set | Pack, level, temporary screws | Plumb & level; no twist |
| 2. Side returns | Fit returns, pack to match datum | Seams flush; consistent reveal |
| 3. Adaptors & poles | Fit adaptors, add support poles | Secure without entering sash chamber |
| 4. Sill & angles | Cut sill, allow post gap, fasten | Accurate angle; neat seal |
| 5. Final checks | Refit sashes, test operation | Smooth travel; locks align |
Quality control
| Check | How we test | What “good” looks like |
|---|---|---|
| Diagonal check | Measure corner-to-corner | Equal diagonals; square opening |
| Sash travel | Open/close cycles | Smooth, no binding; consistent gap |
| Reveal lines | Visual and level sweep | Even reveals; no visible gaps |
Practical note: in Pretoria it pays to limit dust and wind during the fit. Keep surfaces clean before sealants go on so silicones bond properly and the final finish lasts.
“A correct datum and cautious screw placement save time and protect operation.”
Weatherproofing, insulation and energy efficiency for Pretoria’s climate – Bay and Bow Window Installation
Good weatherproofing starts with a clear plan that treats air and water as the primary threats to comfort. We adopt a “seal first, finish second” mindset so visible trims never hide a poor job.
Sealing properly with silicone and foam
Seal first, finish second: we make sure the frame is airtight and that water paths are controlled before we add trims.
Use low-expansion foam to fill voids; it insulates without warping frames. Use silicone for external joints — it gives a neat bead and resists rain.
In Pretoria’s sun, choose UV‑stable sealants. Clean, dry surfaces make silicone bond and last longer. We make sure to tool beads neatly so edges remain gap-free.
Energy-efficient upgrades that change comfort
Low‑e glass reflects radiated heat to reduce summer gain and help in winter. Argon between panes slows heat transfer compared with standard air gaps.
Both upgrades improve comfort and cut daytime cooling needs in our local climate.
| Upgrade | What changes | Best rooms for it | Comfort impact |
|---|---|---|---|
| Low‑e glass | Less solar heat gain | North- or west-facing rooms | Cooler afternoons |
| Argon-filled units | Lower thermal transfer | Living areas and bedrooms | More stable indoor temperature |
| Better seals | Reduced draughts & water ingress | All rooms | Improved comfort; lower dust |
Final finish: neat reveals and gap-free edges
We check reveals for straight lines, even packer positions and consistent bead widths. Trims are fitted only after seals cure.
Practical checks: reveal alignment, flush trim edges, and a uniform silicone bead all reduce dust and water risk around window openings.
| Before you call it done | Visual check | Hands-on check |
|---|---|---|
| Seals cured | Even beads; no gaps | Feel for draughts at perimeter |
| Reveal lines | Trim alignment consistent | Open/close sashes; smooth travel |
| Water defence | Flashing present & sealed | Controlled water run-off; light spray test |
“Make sure seals are done first so finish work remains cosmetic, not structural.”
Timeframes and costs: what to expect in South Africa right now – Bay and Bow Window Installation
Realistic hours on site and honest cost ranges make planning straightforward for most projects. We set clear expectations so clients can pick materials and glazing without last‑minute surprises.
Typical times: new build versus replacement
New build: allow about 1–2 hours per section. Simple frames fit quickly when the aperture is prepared.
Replacement: expect roughly 2–4 hours per section because removal, making‑good and careful sealing take more time. Access, wall condition and structural support needs all add hours.
Ballpark pricing and what moves the numbers
As a guide, a bow window installation ranges roughly between R11,000 and R25,000. Size, frame material, glazing upgrades and any added lintels or repairs push the cost higher.
Labour context in Gauteng
Local labour averages about R460/hour and can reach R750/hour in premium areas. Typical install‑related extras often add around R1,500–R2,500 for disposal, finishing and minor repairs.
“A clear written scope with inclusions and exclusions prevents surprise costs.”
| Project type | Estimated time | Estimated cost range | Key variables |
|---|---|---|---|
| New build (per section) | 1–2 hours | R11,000–R18,000 | Size, material, glazing |
| Replacement (per section) | 2–4 hours | R12,000–R25,000 | Removal, repairs, flashing |
| Full multi‑section project | Varies (sum of sections) | R15,000–R25,000+ | Access, structural supports, finishes |
| Cost drivers | Low impact / high impact | How to keep it under control | |
| Measurements & scope | Low / High | Confirm sizes early; sign off a written scope | |
| Site repairs | Low / High | Survey first; budget contingency | |
| Glazing & upgrades | Low / High | Choose sensible glass options for value |
Practical tip: agree a fixed quote where possible and factor labour rates and the common extras into your budget. That keeps the project on time and within expected cost.
Choosing a professional installer in Pretoria without regret – Bay and Bow Window Installation
A careful choice of installer protects the house fabric and keeps the project on schedule. Good tradesmanship reduces the risk of leaks, structural issues and messy finishes.
What good workmanship looks like
Structural integrity: correct support and load management so the opening stays true.
Consistent level lines: even faces and straight reveals across every section.
Smooth operation: sashes that move freely with neat seals and tidy trims.
Questions to ask before you approve
- What measurements will you record and how are angles checked?
- What tolerance is allowed and which sealants or materials do you specify?
- Who arranges any required support or remedial work?
- How will operation testing and weatherproof checks be carried out?
Why homeowners choose Handyman Pretoria
Handyman Pretoria focus on measurement discipline, neat sealing and careful making‑good. We have experience in older Brooklyn and Lynnwood homes and newer builds in Menlyn, so we adapt our approach where reveals differ.
| Question | Good answer sounds like | Warning sign |
|---|---|---|
| How do you measure? | Three heights, three widths, diagonal checks | Vague single reading |
| Support plan? | Detail on lintels, props or brackets | No plan for structural support |
| Sealing and finishes? | Specified sealant type and cure times | Rushed seals; messy finishing |
| Item | What we check | What you should see |
| Operation | Open/close cycles | Smooth travel; no binding |
| Perimeter | Sealed and cured | Even gaps; sealed edge |
| Reveal lines | Visual sweep and level | Straight reveals; consistent level |
“Professional work prevents water damage and avoids safety risks.”
Bay and Bow Window Installation: Conclusion
Deciding between a bold three‑panel projection or a soft curved run sets the tone for your room. A three‑panel bay gives clear ventilation and a framed seat. A curved bow spreads light and creates a panoramic feel.
Non‑negotiables: check the wall’s structural readiness, record accurate internal angles and follow a disciplined fitting process so every face stays level and plumb. Support, careful screw placement and watertight seals protect long‑term performance.
Plan how the added space will change furniture, seating and storage so the new feature works every day. In Pretoria CBD, façades and exposure differ from Menlyn, Lynnwood, Brooklyn or Hatfield, so match design to the area.
| Your goal | Best option | Top checkpoint before ordering |
|---|---|---|
| Bold seat + airflow | bay | Angle measurement |
| Panoramic light | bow | Projection depth |
| Practical ventilation | three‑panel | Sash choice |
Next step: use the measurement checklist and installer questions in this guide to decide whether to DIY‑plan or have us manage the work end‑to‑end. If you want a professional hand, Handyman Pretoria can help with the full process.